
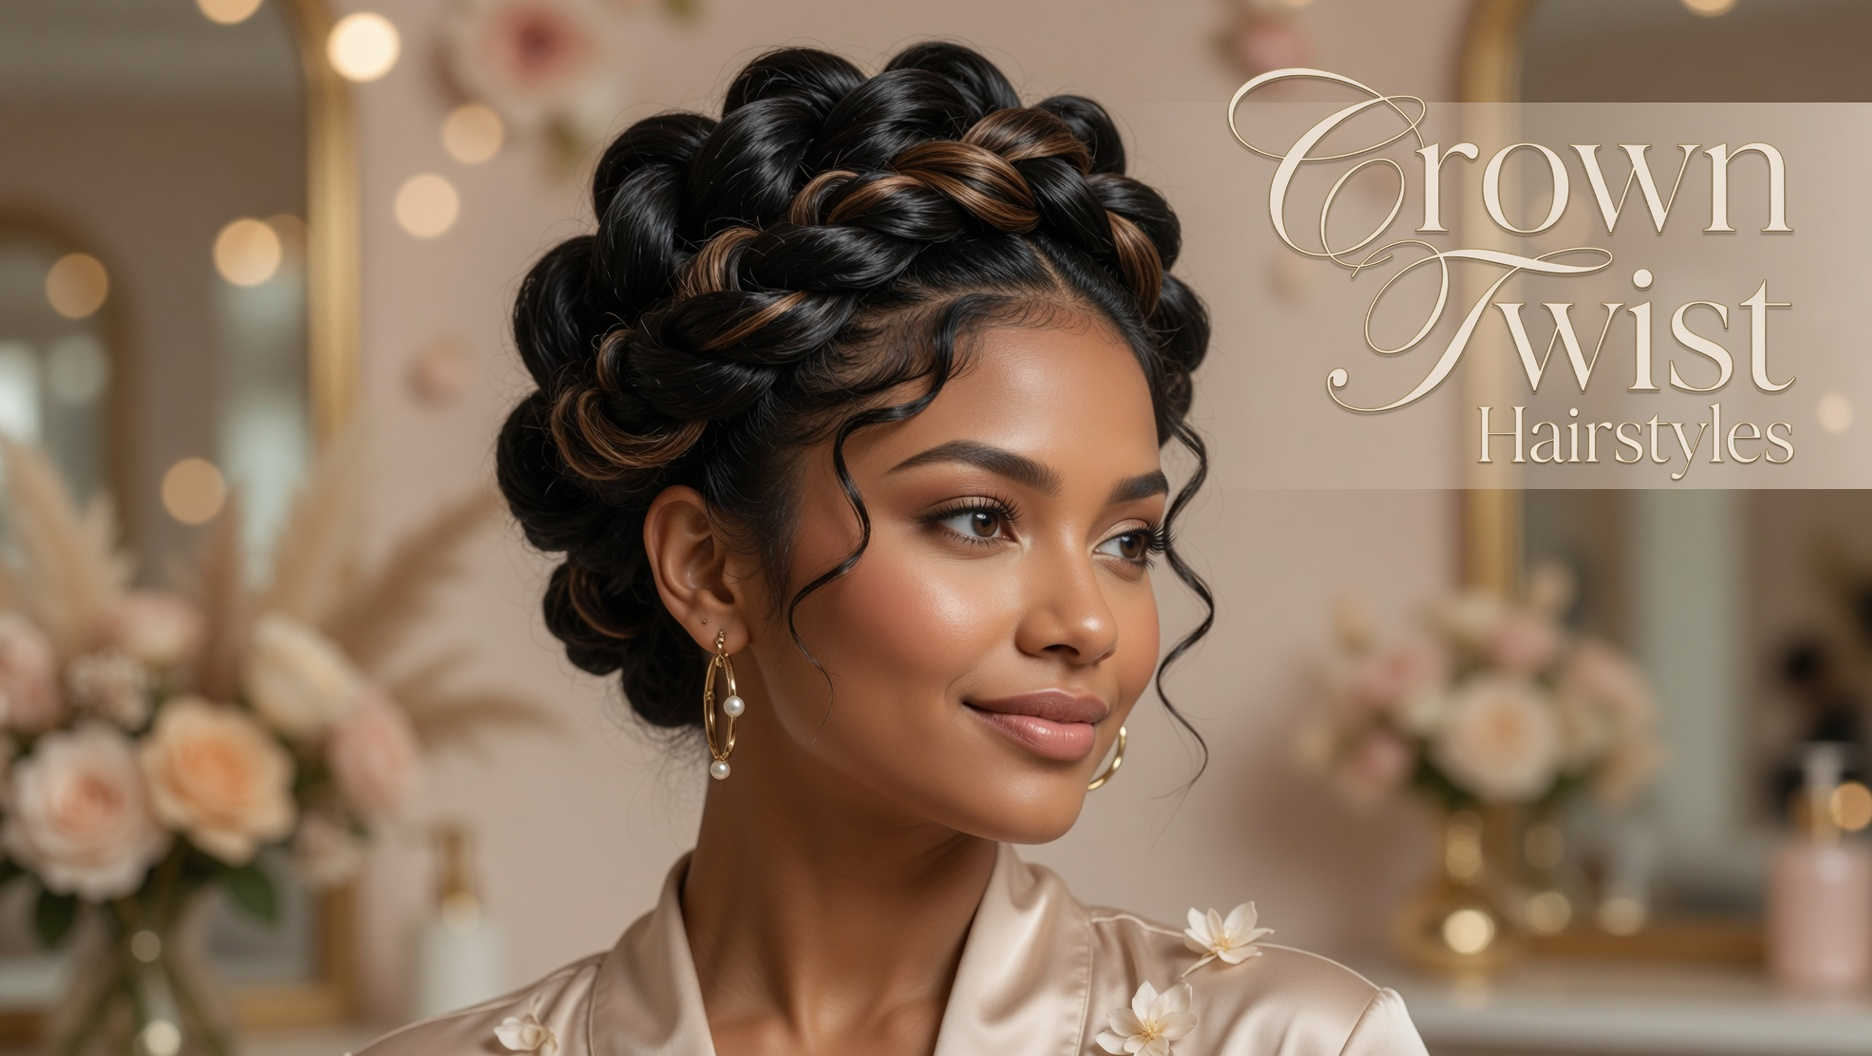
Okay real talk crown twist hairstyles are one of those things that look super complicated but are actually not that hard once you try them once or twice.
You’ve probably seen them everywhere. That pretty twisted hair going around the top of someone’s head like a little crown. It looks elegant. It looks put together. And the best part? It works on almost every hair type, every length, and every occasion.
Whether you’re heading to school, a wedding, a casual day out, or literally just want your hair out of your face in a cute way there’s a crown twist for that.
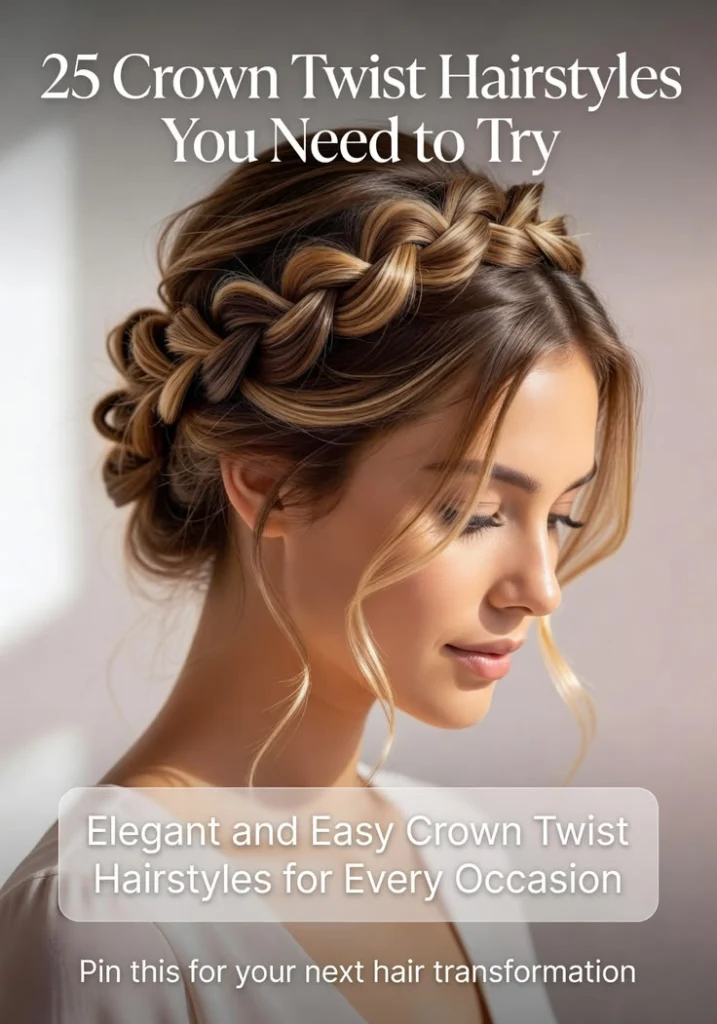
Here are 25 of them.
1. The Simple Two-Strand Crown Twist
This is the one you start with if you’ve never done a crown twist before. Take a small section of hair from one side of your head. Twist it back toward the crown. Pin it. Do the same on the other side. The two twists meet in the middle at the back and get pinned together. Simple. Clean. Pretty. It takes maybe four minutes once you’ve done it a couple times. Works on straight hair, wavy hair, even lightly curly hair. This is the foundation for almost every other crown twist on this list.
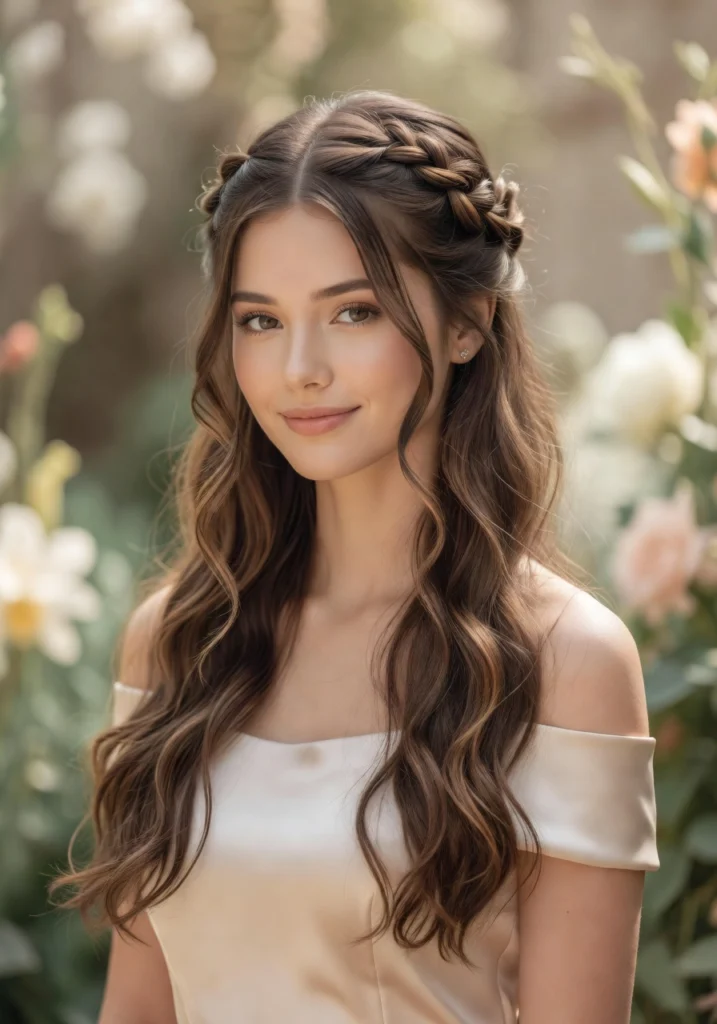
2. Boho Crown Twist With Loose Pieces
Same as the simple crown twist but you pull pieces out. A strand near your face on each side. Maybe a piece at the back. Don’t make it perfect. The messier and more relaxed it looks, the better this style works. Those loose face framing pieces are everything. They make the hairstyle feel soft and romantic instead of stiff and formal. Perfect for photos. Perfect for days when you want to look like you tried but also like you’re very chill about it.
3. Crown Twist Into a Low Bun
Twist the hair from both sides of your head back toward the nape of your neck instead of meeting at the top. Then gather all the remaining hair into a low bun right where the two twists meet. The twists frame your face and head and then flow into the bun below. It looks like a really fancy hairstyle but it’s basically just two twists and a bun. Add a few pins to keep the twists secure and you’re done. This is one of those first day school hairstyles that looks polished enough to feel special without taking forever in the morning.
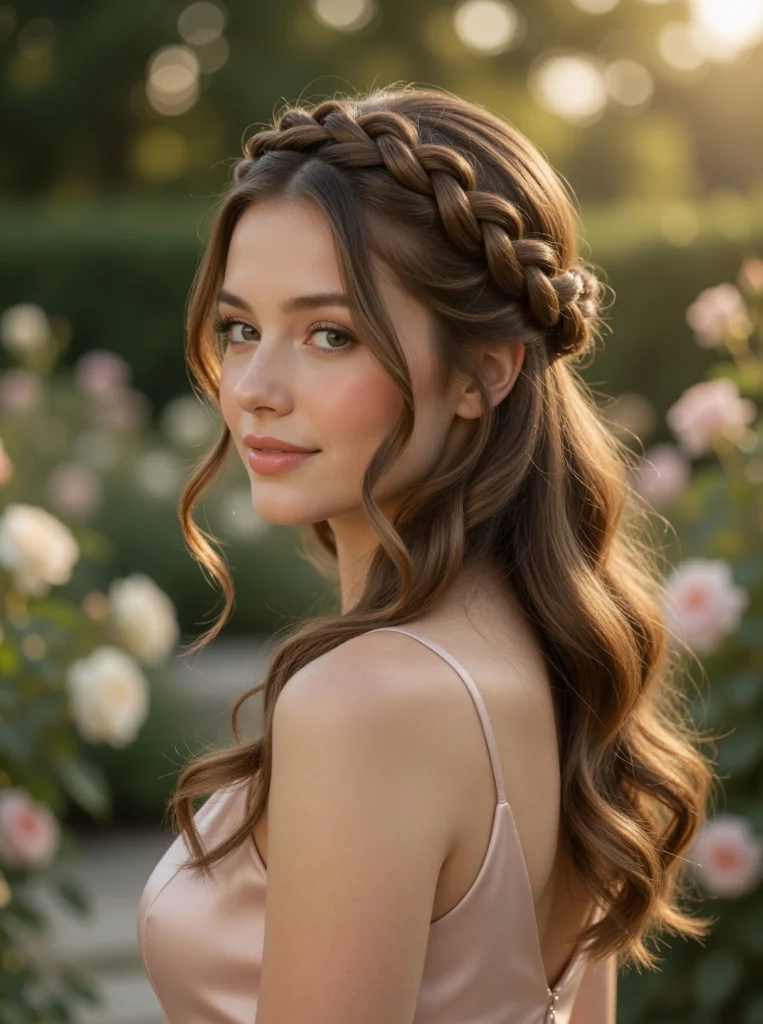
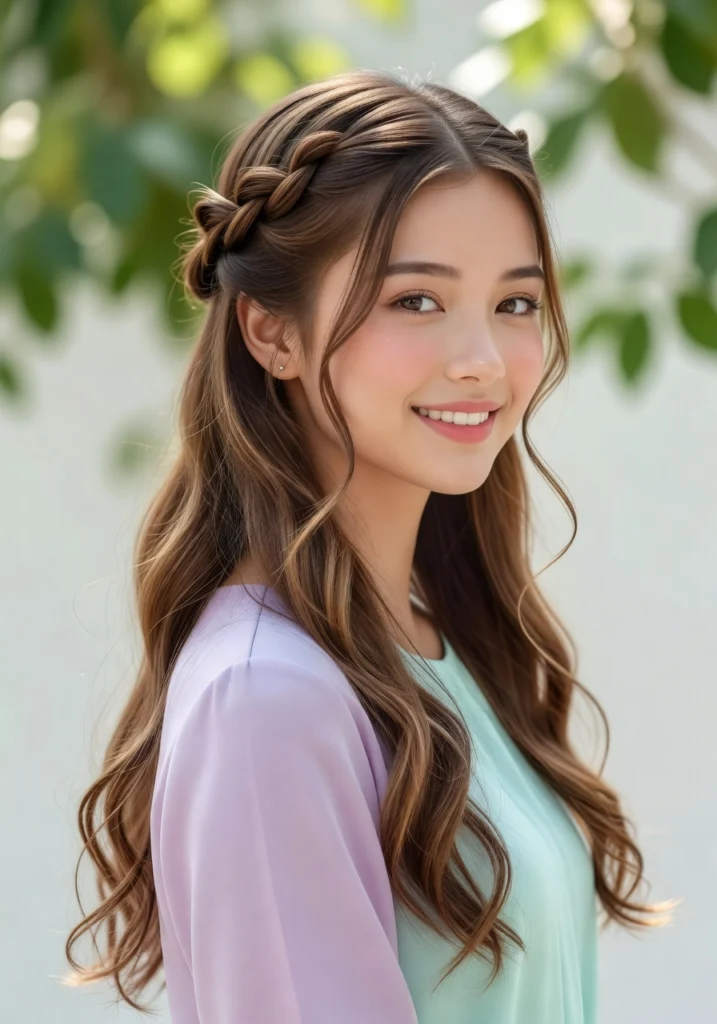
4. Half-Up Crown Twist
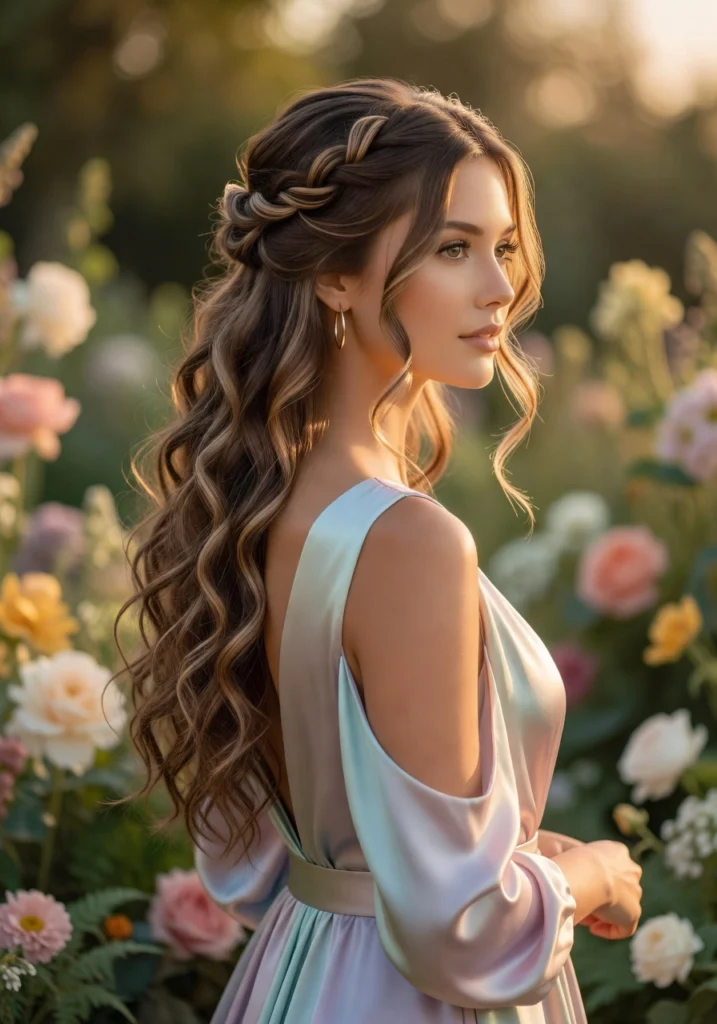
Take just the top half of your hair from ear to ear across the top of your head. Twist sections from each side and bring them to the middle. Pin them together to create a half up style. The bottom half of your hair stays completely down. This is genuinely one of the most universally flattering hairstyles there is. It keeps hair off your face, shows off length at the back, and looks elegant from every angle. Great for school pictures, family photos, or any day you want to look a little nicer than usual.
5. Crown Twist With a Messy High Bun
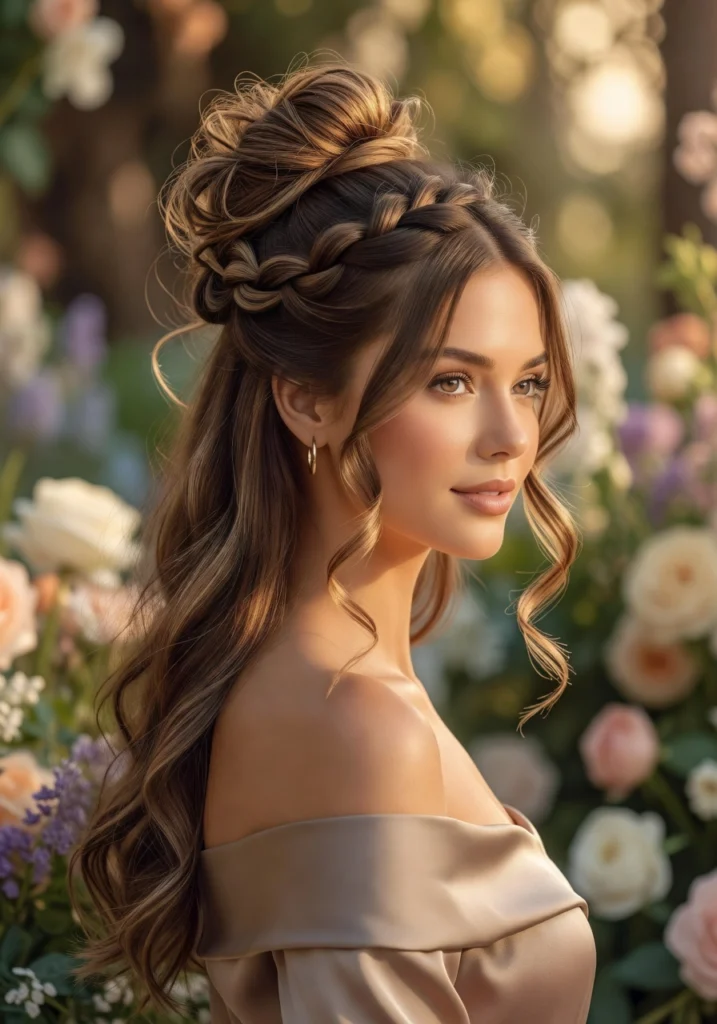
Twist the front sections of your hair back away from your face on both sides. Bring those twists to the top of your head and secure them into a high messy bun along with the rest of your hair. The twists add that extra detail at the front while the bun at the top does the main volume work. It looks put together and effortless at the same time. The messier the bun, the cooler this looks. Don’t stress about making it perfect.
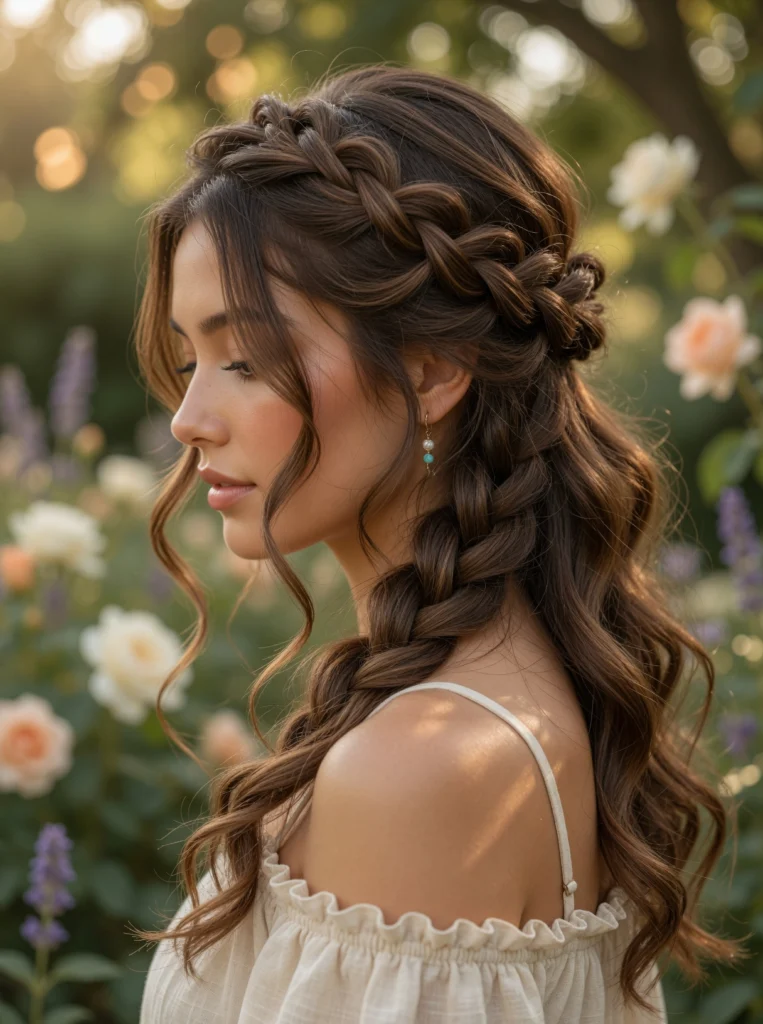
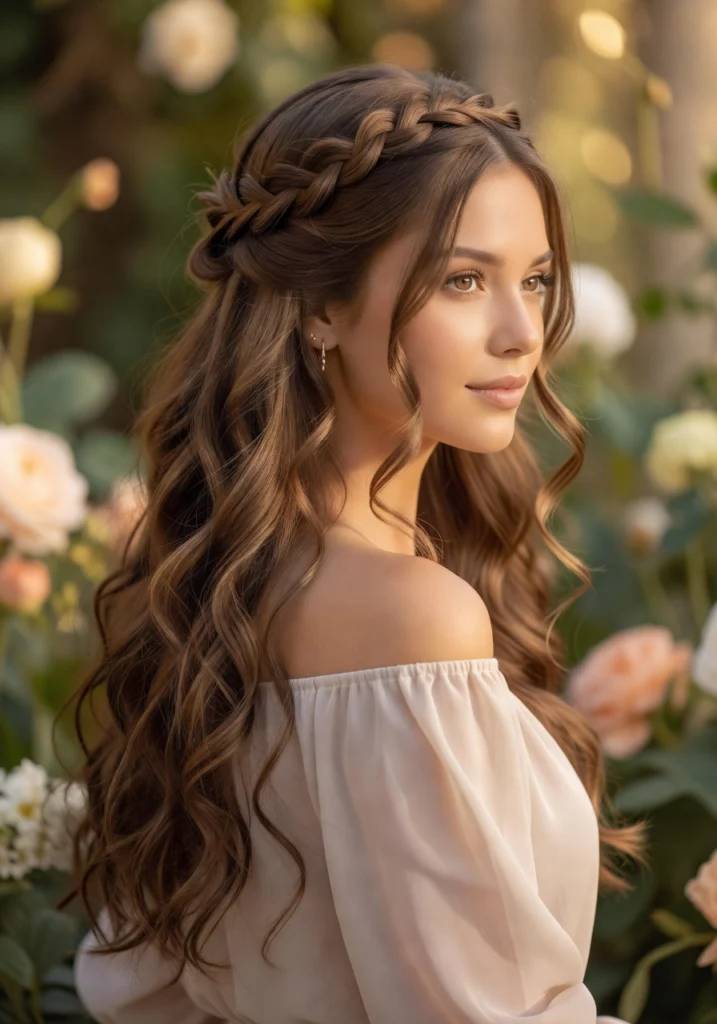
6. Dutch Crown Braid (Twisted Version)
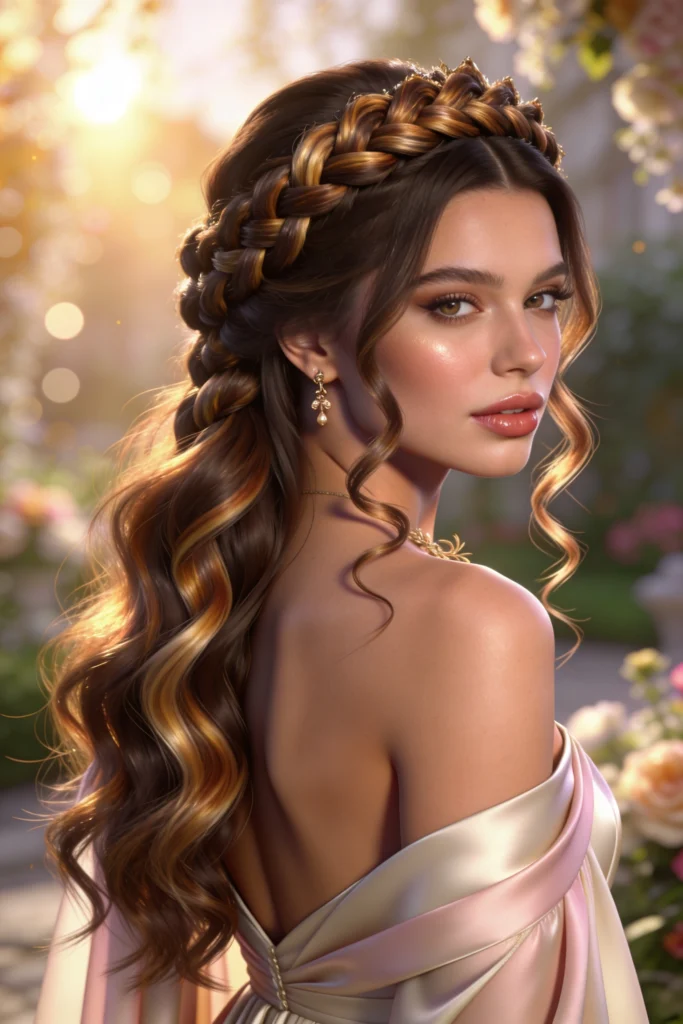
A Dutch braid is like a regular braid but you go under instead of over so the braid pops up off your head. For the twisted version instead of a full three-strand braid, twist two strands back along your hairline from one ear all the way around to the other. It sits on top of your head like a real crown. This one takes a little more practice but when you get it right it genuinely looks like a professional did your hair. So worth learning. You can find really good step-by-step visual guides for this on StylePetal’s Pinterest.
7. Soft Crown Twist for School Photos
School photo day is serious business. You want your hair to look good in that one photo that gets printed and framed and shown to people for the next ten years. A soft crown twist is perfect for this. Smooth the front sections back with a little product to control frizz. Twist gently not too tight. Pin neatly. Pull one or two soft pieces near your face. Done. It looks neat enough for a formal photo but natural enough that it looks like you. For more ideas specifically for school photos check out first day of school hairstyles for perfect photos really helpful if you want options.
8. Crown Twist With a Ribbon or Bow
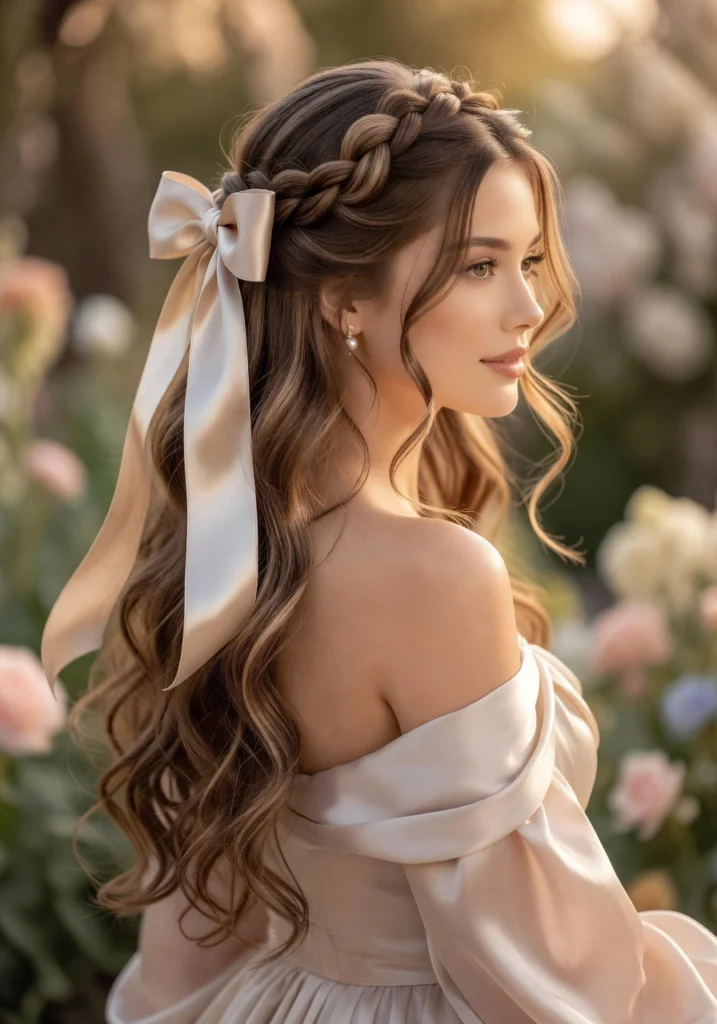
Do your regular crown twist. Then weave a ribbon, satin bow, or fabric tie through the pins at the back where the twists meet. Or tie the ribbon around the section where everything comes together. The ribbon adds colour and personality to what is otherwise a simple hairstyle. Use a ribbon that matches your outfit. Or go contrasting for a pop of colour. This is especially cute for younger girls or for anyone who loves a little extra sweetness in their look.
9. Textured Crown Twist on Curly Hair
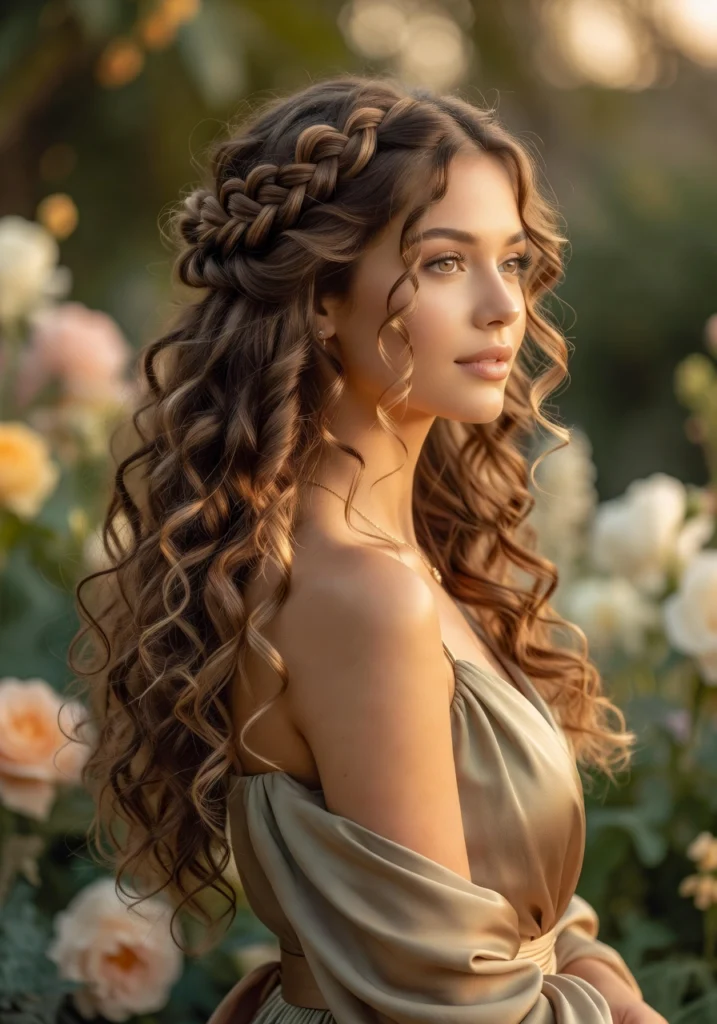
Crown twists on curly hair look absolutely stunning. The natural curl texture adds volume and life to the twist that straight hair just doesn’t have. Don’t try to smooth your curls down for this let them be. Do the twist on top with your natural texture intact. Leave the rest of your curls down around your shoulders. The contrast between the neat twisted crown and the free curls falling below is beautiful. Apply a little curl cream before you start to define the texture.
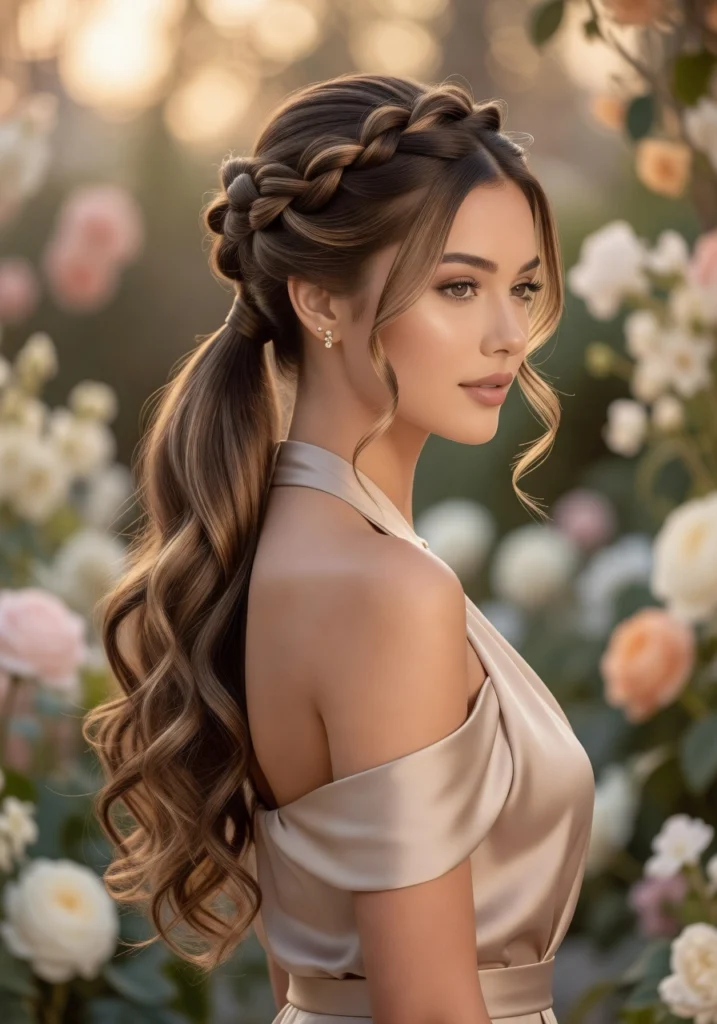
10. Two Tiny Crown Twists Side by Side
Instead of one big twist from each side, do two thinner twists from each side of your head. So four twists total two on the left side and two on the right all meeting and pinning at the back. The multiple thin twists create a more intricate braided effect even though you’re just twisting. It looks more detailed and special than a single twist. Takes only a couple extra minutes but the difference in how it looks is worth it completely.
11. Crown Twist Into a Ponytail
Twist sections from each side of your head back toward the middle. But instead of pinning them into a bun or letting them loose, gather them into a ponytail along with the rest of your hair. The twists feed into the ponytail and frame your face beautifully. It elevates a regular ponytail into something that looks actually styled. High ponytail for something fun and energetic. Low ponytail for something more polished. Both look great. This is one of those amazing school hairstyle ideas that works for every day not just special occasions.
12. Waterfall Crown Twist
This one is special. As you twist the hair along your hairline you drop a strand of hair out of the twist every few inches letting it fall down naturally like a waterfall. Then you pick up new hair from below to continue the twist. The effect is that you have a twisted crown with strands of hair falling through it in a cascading pattern. It looks intricate and romantic. It’s actually not that hard once you understand the drop and pick up motion. Very beautiful for events, celebrations, or any day you want to feel a little fancy.
13. Overnight Crown Twist for Natural Waves
Here’s a trick. Do a loose crown twist at night before you go to sleep. Wrap your hair gently. Sleep. Wake up. Take out the pins and let the twist fall loose. The twisted shape will have created soft natural-looking waves and texture in your hair overnight without any heat. Then you can either leave it loose with that wave pattern or redo a lighter version of the crown twist with the now-textured hair. Two hairstyles in one. No heat damage. Smart.
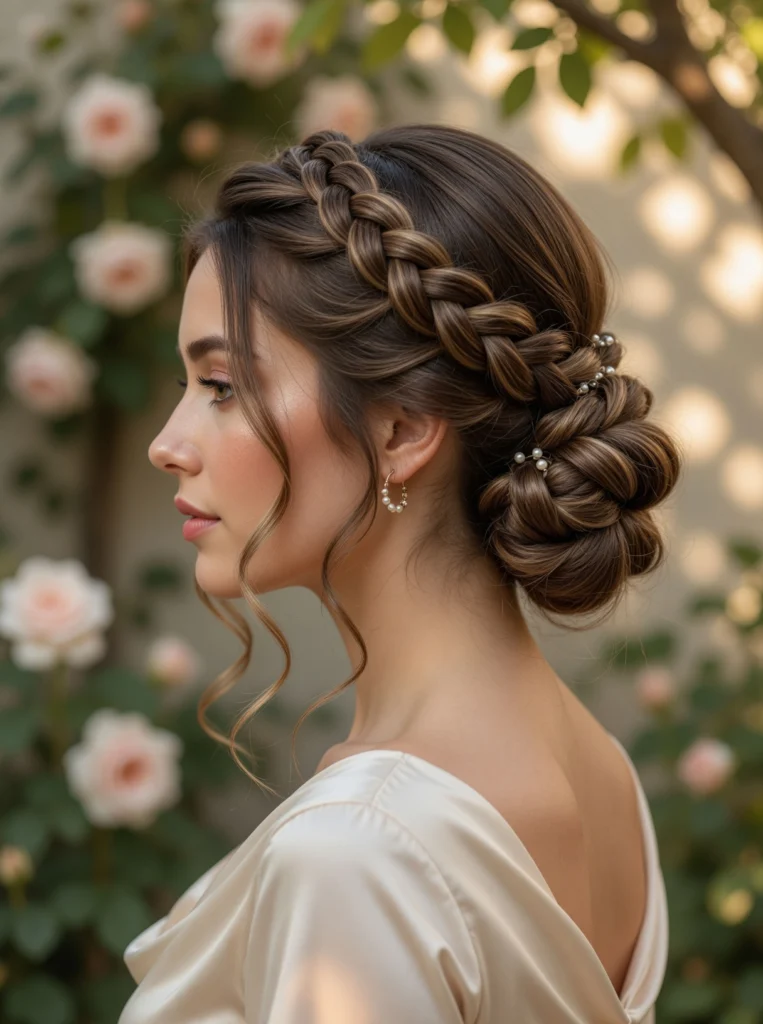
14. Crown Twist With Flowers or Pins
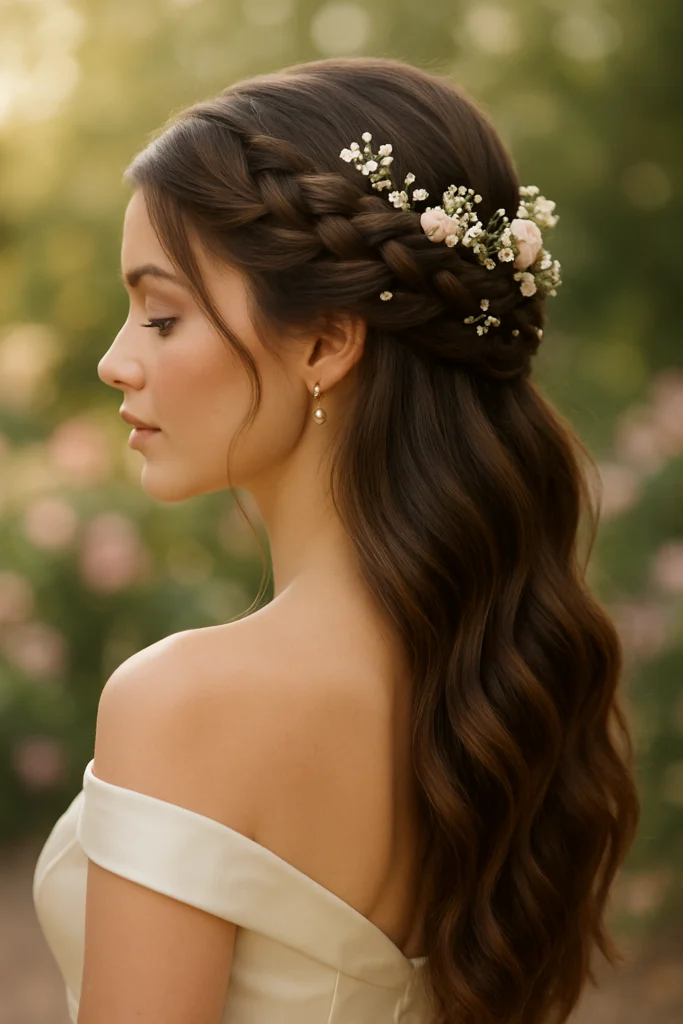
The base hairstyle is simple. Any crown twist style you like. But then you add decorative pins, tiny flowers (real or fabric), pearl pins, or jeweled clips along the twist. Each little pin or flower is placed an inch or two apart along the twisted section. From a distance it looks like the most beautiful intricate hairstyle. Up close you can see it’s just pins placed in a simple twist. This is perfect for weddings, special events, or really any day you want your hair to feel extra. The soft girl version of this pairs beautifully with the looks in first day school soft girl hairstyles.
15. Low Crown Twist (Around the Nape)

Most crown twists go around the top of the head. This one goes around the lower back of the head closer to the nape of the neck. Take sections from behind each ear and twist them toward the centre back, lower down. Pin them together low on the back of your head. It’s a softer, more subtle look than a top crown. Really flattering if you have a longer neck because it draws attention there. Also works beautifully if you want a crown twist that’s a little more understated and not the first thing people see.
16. Thick Rope Twist Crown
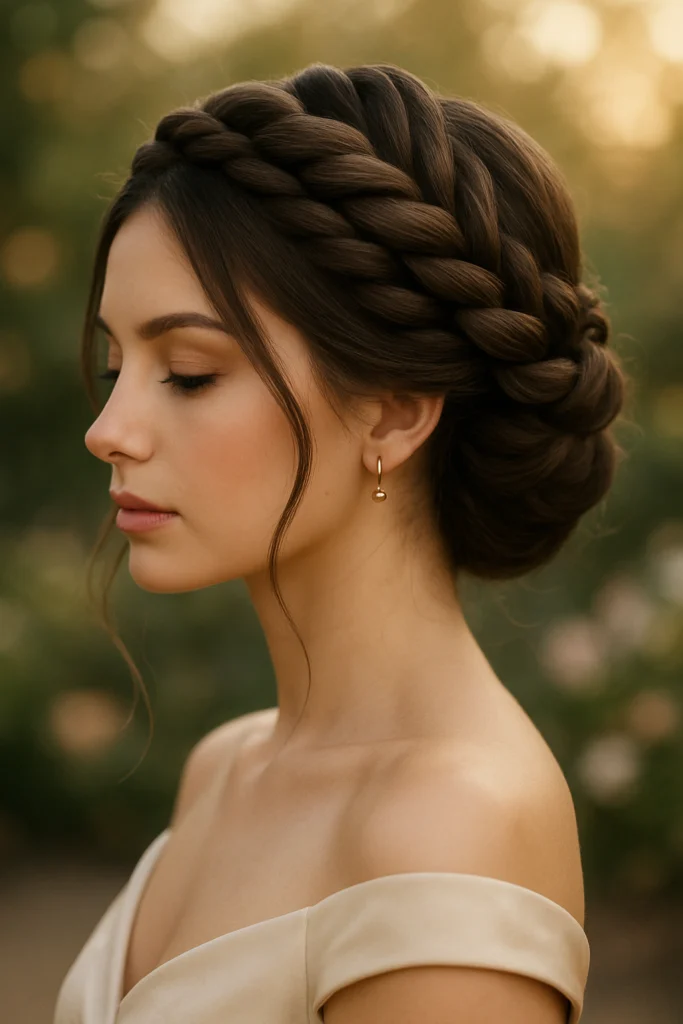
Instead of a light, delicate twist make it thick and chunky. Take big sections of hair from each side and twist them back using a rope twist technique (two strands twisted around each other). The resulting twist is thick and textured and bold. Pin it in place. This style has more presence than a thin twist. It looks strong and confident. Really suits people with thicker or longer hair. Also adds volume visually if your hair tends to look flat.
17. Crown Twist That Stays Perfect All Day
The secret to a crown twist that actually holds? Slightly dirty hair (not freshly washed), a tiny bit of texture spray or dry shampoo before you start, and bobby pins that match your hair colour. Clean freshly washed hair is often too slippery to hold twists well. Hair that’s one or two days old grips better and holds the style longer. This is especially useful for first day school hairstyles that stay perfect all the way through the school day without falling apart by lunch.
18. Crown Twist for Short Hair
Short hair absolutely can do crown twists. You just use smaller sections. Take thin sections from the front hairline on each side and twist them back as far as they’ll go. Pin them with small bobby pins. Even a two or three inch twist along each side of the hairline changes the whole look of short hair. It pulls the front pieces back and off the face and gives structure to a short hairstyle. Works especially well with a short bob or pixie that has some length on top.
19. Twisted Crown With Space Buns
Do your two-strand crown twist across the top of your head and instead of gathering everything into one bun split the remaining hair in half and create two space buns on either side of the crown. The twist frames the top and the space buns sit like two little round clouds on each side. This is playful and fun and works really well for younger girls or for anyone who likes a more creative hairstyle. Add two matching scrunchies on the buns to tie it all together.
20. Elegant Crown Twist for Special Occasions
Slick back the front sections of hair with a smoothing cream or gel. Twist them back neatly and tightly against your head. Pin them with flat clips that lie smooth against your hair. The rest of the hair goes into a sleek low bun or is left in smooth waves. The difference between a casual crown twist and an elegant one is smoothness. No flyways. No puffing. Clean lines. This is the version you wear to a formal event, a wedding, a ceremony anywhere you want to look genuinely polished and put together.
21. Side-Swept Crown Twist
Instead of twisting from both sides toward the centre do one long twist that starts at one ear, goes across the entire front hairline, and ends pinned behind the opposite ear. All in one direction. It’s asymmetrical. It frames your face on one side. It looks very artistic and intentional. This style is great for people who feel like regular crown twists are too symmetrical or safe. The side sweep adds movement and drama to the look.
22. Crown Twist for Thin Hair
Thin hair can feel like it doesn’t have enough volume for crown twists. The trick is to backcomb or tease the sections lightly before you twist them. Just a tiny bit of teasing adds body to the twist so it looks fuller than it is. Also don’t make the twist too tight. A looser twist looks fuller. Pull it out just slightly with your fingertips after pinning to add that extra volume. Thin hair crown twists look absolutely beautiful when done this way.
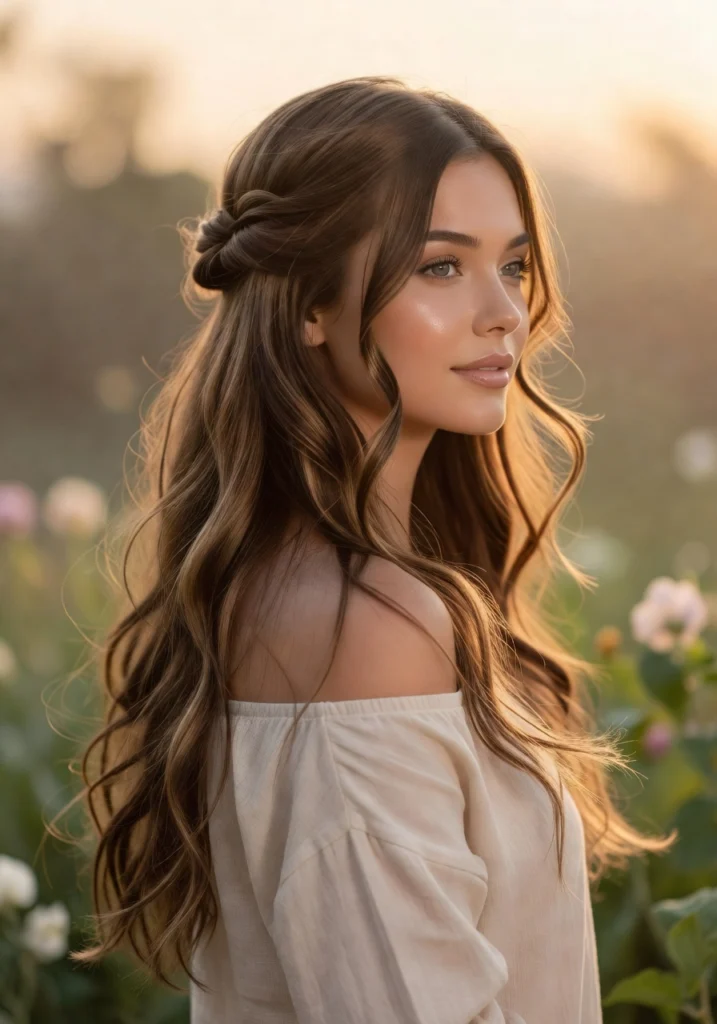
23. Mini Crown Twist Just at the Front
You don’t have to do the whole crown. Just do a small twist on each side right at the front of your hairline a two or three inch twist on each side and pin them back. The rest of your hair stays completely loose. This is the quickest version on the list. It takes ninety seconds. But it transforms loose hair from “just down” to “actually styled.” Perfect for mornings when you have no time but want your hair to look intentional. Really good for first day school hairstyles when you’re running late but still want to look put together.
24. Crown Twist With a Fishtail Finish
Do your regular crown twist. But instead of pinning the ends into a bun gather all the remaining hair into a fishtail braid and let it hang down the back. The crown twist at the top flows into the fishtail braid at the bottom. It’s one continuous style from hairline to ends. It looks incredibly intricate. People will ask you how long it took. It takes about fifteen minutes. You don’t have to tell them that.
25. Your Version of the Crown Twist
Here’s the thing about hairstyles they’re supposed to be yours.
Take any crown twist from this list. Change the tightness. Change the placement. Add a ribbon. Leave pieces out. Make the bun messy or make it neat. Do it high or do it low.
The best crown twist is the one that makes you feel like yourself. Not a copy of someone else’s hair. Not a perfect version of a tutorial you watched. Just your own interpretation of this style done your way, on your hair, for your life.
That’s the one that looks the best. Every time.
A Few Quick Tips Before You Start
Bobby pins that match your hair color are invisible. Black pins for dark hair, blonde for light. They hold better and they disappear into the style.
Don’t wash your hair right before. One day old hair holds twists way better than fresh clean hair.
Use your fingers more than a comb. Crown twists look best when they have a little natural texture. Over combing makes them look stiff.
Practice on a low-stakes day. Try new styles on a weekend or at home first. By the time you need them for something important they’ll feel easy.
Now go try one. Start with number one or number twenty-three if you’re short on time. Then work your way through the list.