
My sister got married in October, and three days before the wedding she handed me a stack of vintage silk scarves that belonged to our grandmother and said, “figure out what to do with these for the bridesmaids.” No instructions. No Pinterest board. Just four silk squares and a panic-inducing deadline.
I spent that entire night watching tutorials, ruining two practice attempts on my own hair, and texting my sister increasingly stressed updates. By morning, I’d actually figured it out and weirdly, it became one of my favourite skills I picked up that whole year.
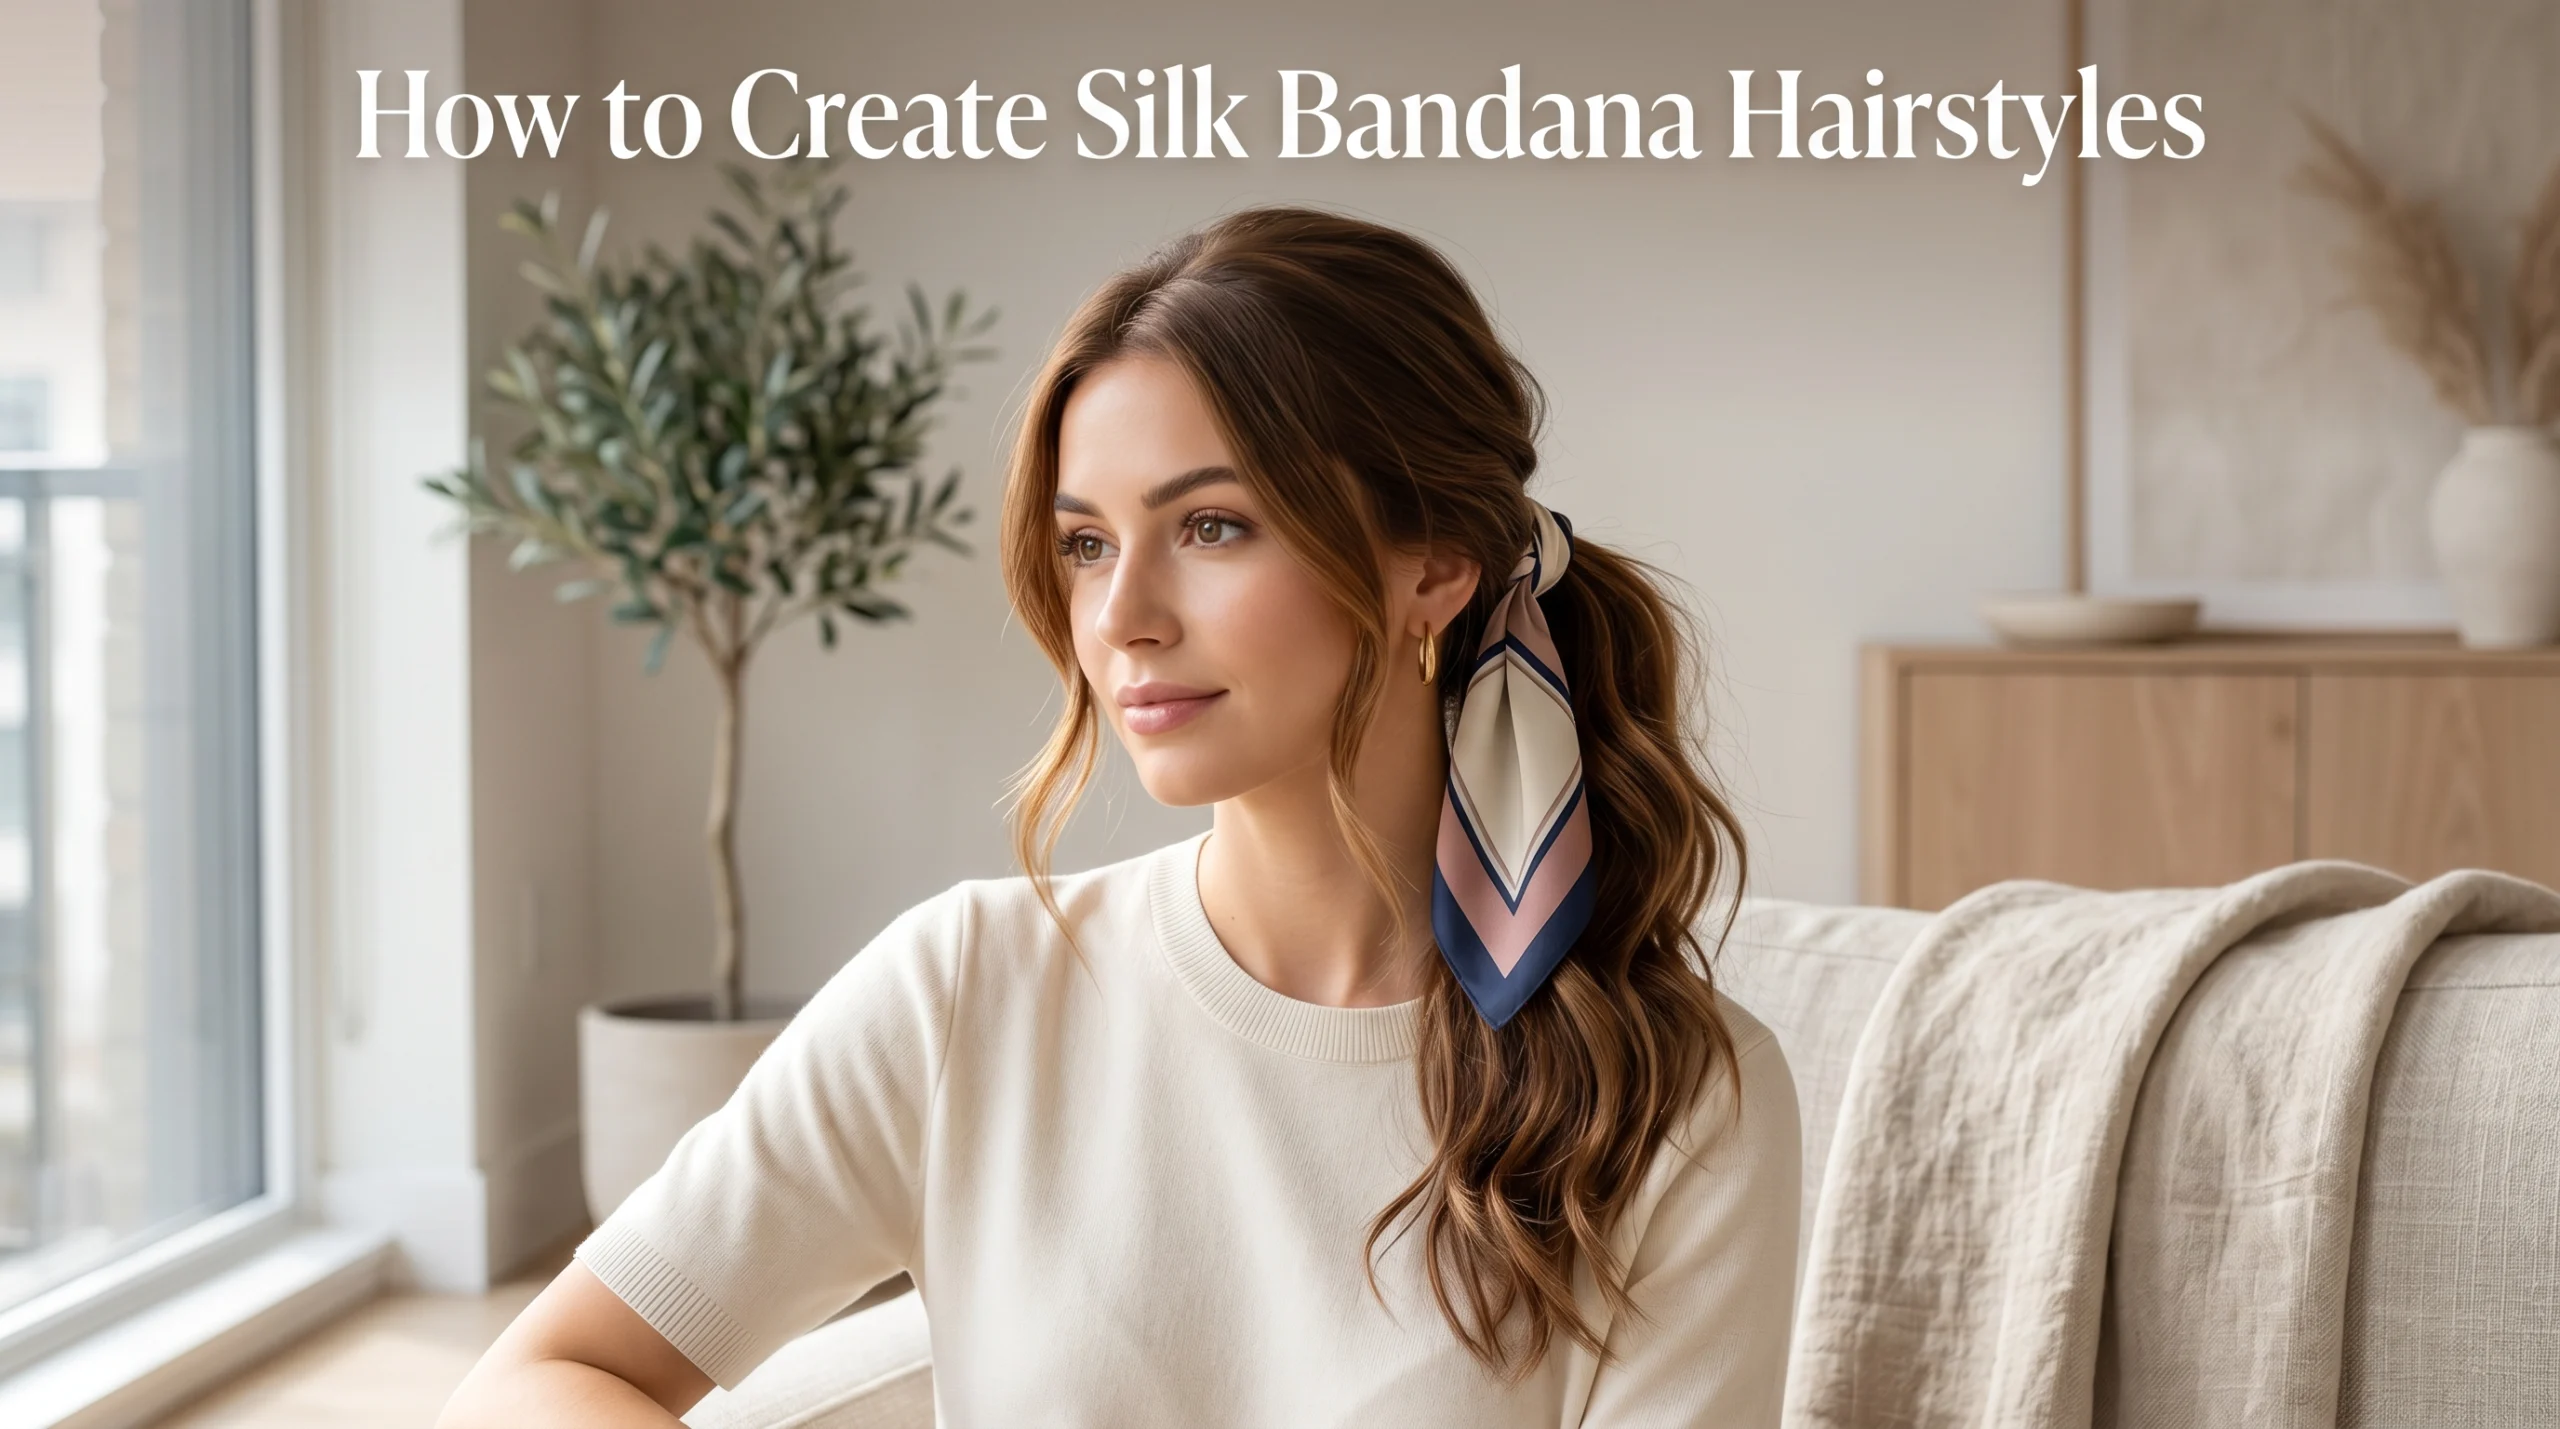
If you’ve ever stared at a silk bandana wondering how on earth people turn it into those effortless-looking hairstyles you see everywhere, this is the tutorial I wish someone had handed me that night.
What You Actually Need Before You Start
I made the mistake of just diving in with whatever I had lying around, and it cost me a lot of frustrated re-dos. Here’s what actually makes a difference:
- A silk or satin bandana, ideally at least 26×26 inches. Smaller ones genuinely limit what styles you can do.
- A few bobby pins clear or hair coloured ones blend in better than the black metal kind.
- A small hair tie, the clear silicone ones work best since they don’t show.
- A wide tooth comb for smoothing things out before you wrap.
- Optional but genuinely helpful: a little texturizing spray (I use Oribe Dry Texturizing Spray, but a cheaper drugstore version works fine too).
That’s it. No curling iron, no fancy tools. Part of what I love about this is how low-effort the actual equipment is.
The Basic Fold Everyone Should Learn First
Before any specific hairstyle, you need to know how to fold your bandana properly, because this trips up almost everyone at the start (it tripped me up too).
Step-by-step:
- Lay your silk square flat on a table, like a diamond shape in front of you.
- Fold the top corner down to meet the bottom corner, making a triangle.
- Fold the triangle in half again, then keep folding it lengthwise into a long strip about 2-3 inches wide for most styles, or thinner if you’re doing something more delicate like a braid wrap.
- Smooth it out with your hands so there are no weird bunches.
This strip is your base for almost every style below. Practice this fold a couple of times before attaching it to your actual hair it genuinely makes everything after this step go smoother.
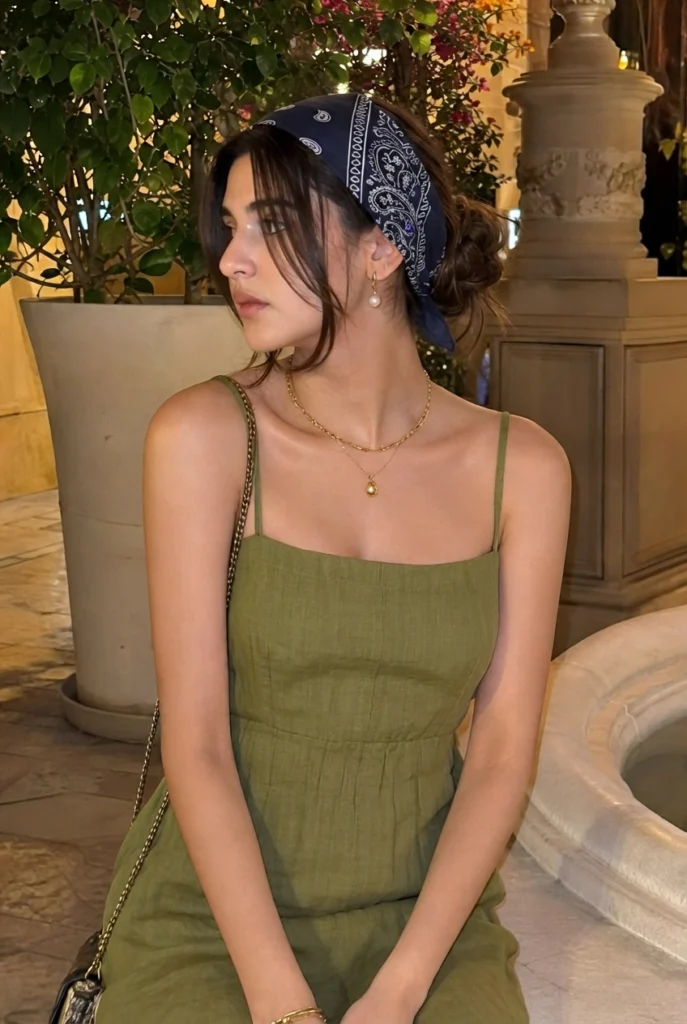
1: The Everyday Headband Wrap
This was the very first one I learned, and it’s still what I reach for on lazy mornings.
- Fold your bandana into the long strip as described above.
- Find the center of the strip and place it at the nape of your neck, underneath your hair.
- Bring both ends up and forward, crossing them at the top of your head if you want extra security, or just bringing them straight up to meet at your hairline.
- Tie the ends together at the front or off to one side in a simple knot or small bow.
- Use your fingers to gently fluff the hair around your face for a softer look.
Time it takes: Genuinely under three minutes once you’ve practiced it a couple times.
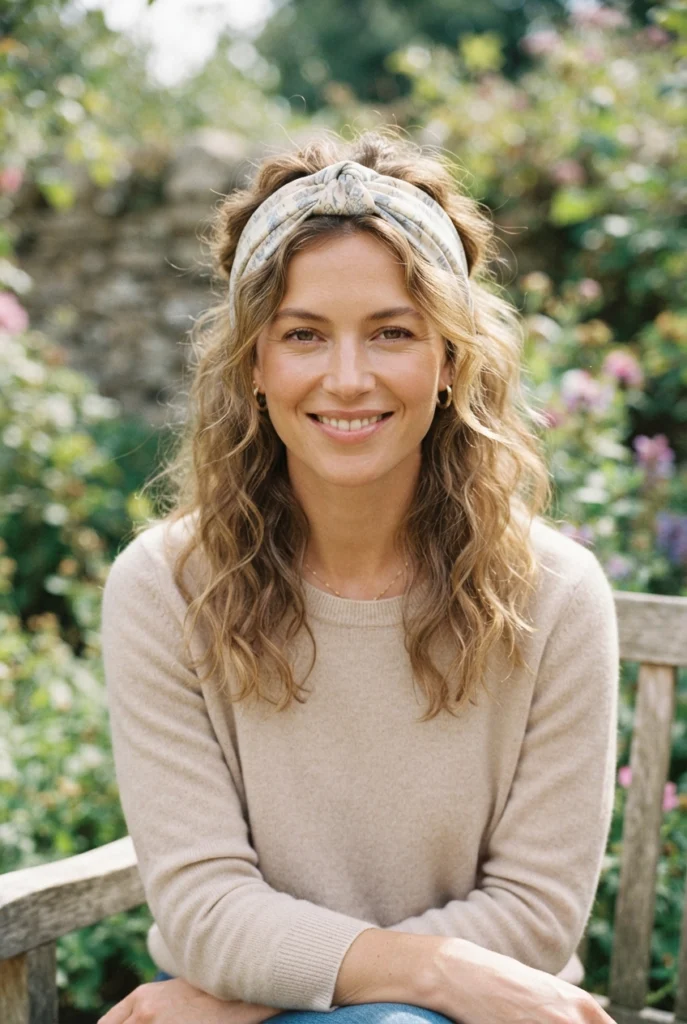
2: The Twisted Headband (My Personal Favourite)

This one looks more elaborate but it’s really just one extra twist compared to the basic wrap.
- Fold two bandanas into strips (you can use one colour or mix two complementary colours I did black and cream for my sister’s bridesmaids and it looked gorgeous).
- Hold both strips together as if they’re one and twist them around each other a few times, like a rope.
- Place the twisted center at the nape of your neck and bring the ends forward.
- Cross them at the front, then tuck the ends underneath near your ears or tie them in a small knot hidden at the back.
The twist adds texture and makes the whole thing look intentionally styled rather than just a flat strip tied around your head.
3: The Wrapped Ponytail
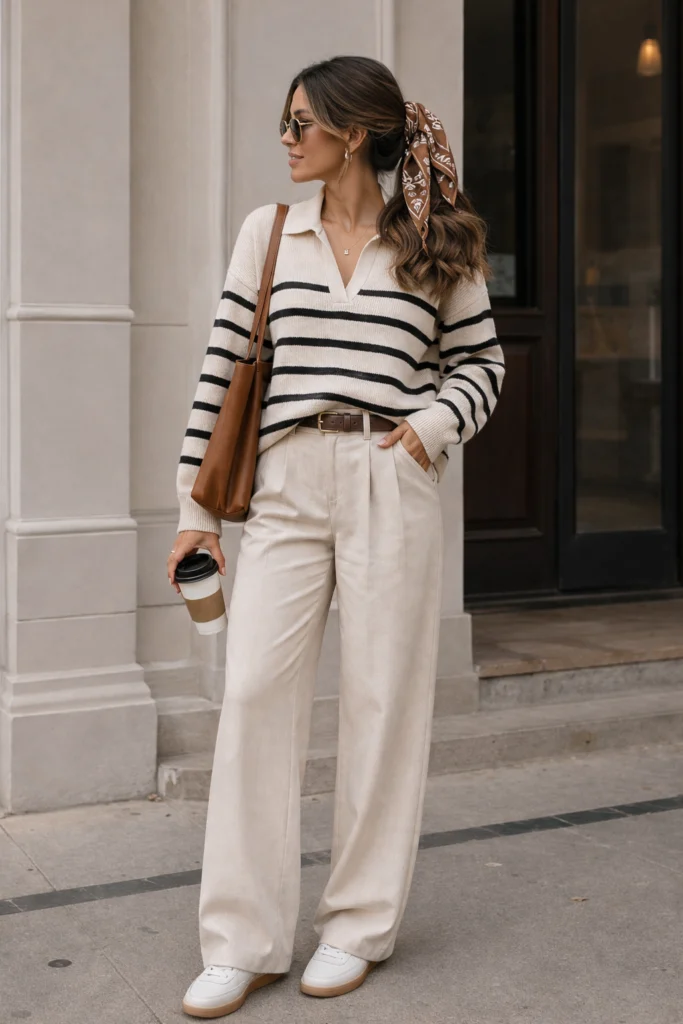
I use this one constantly for casual days when I still want my hair to look done.
- Pull your hair into a ponytail at whatever height you like mid-height usually photographs the best.
- Secure it with a small clear hair tie first. Don’t skip this part; the bandana alone won’t hold your hair securely for a full day.
- Take your folded bandana strip and wrap it around the base of the ponytail, covering the hair tie completely.
- Wrap it around two or three times depending on the length of your strip.
- Tie off the ends into a small knot or bow, and tuck any extra fabric underneath so it’s hidden.
Mistake I made the first time: I wrapped it too loosely and it slipped down within an hour. Wrap snugly, but not so tight that it’s uncomfortable you want it secure against the hair tie, not against your scalp.
4: The Bandana Bun
This became my go-to for work days because it looks polished without requiring any actual hairstyling skill.
- Gather your hair into a low bun at the nape of your neck, securing it with bobby pins as you normally would.
- Take your folded bandana and wrap it around the entire bun like you’re gift-wrapping it.
- Tuck the ends underneath the bun and secure with a bobby pin or two.
For a softer, more romantic version, leave a small section of hair loose at the front before wrapping it frames the face nicely.
If you want to see how this style pairs with beach waves and a more relaxed vibe, fashionstylefeed.com’s beach and vacation hairstyle guide has some lovely variations worth trying.
5: The Braided Bandana Crown
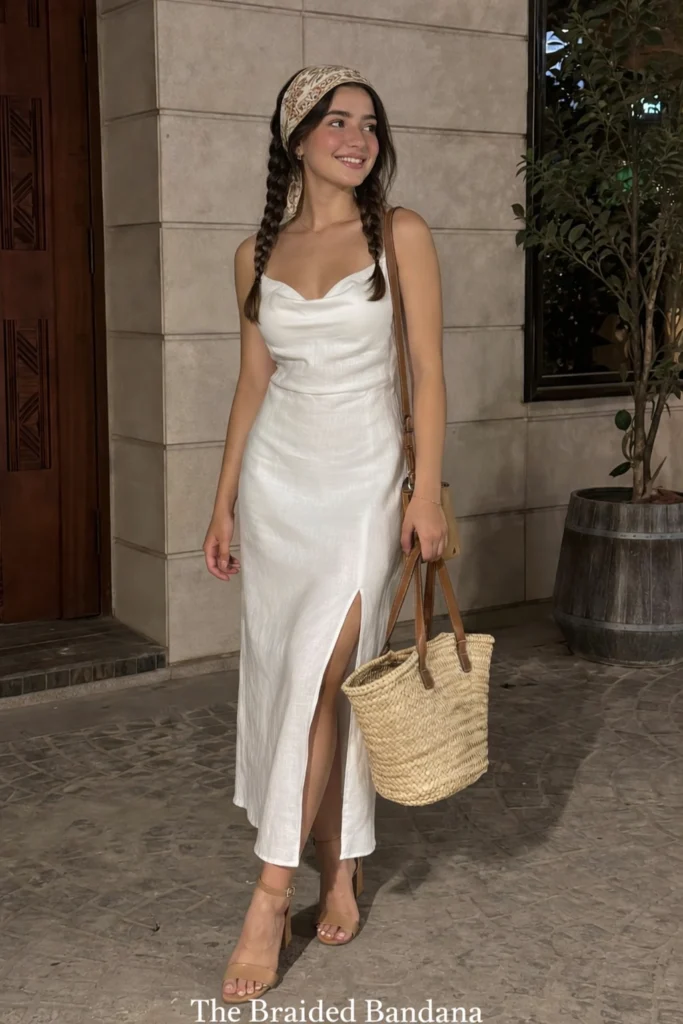
This was the showstopper I ended up using for the actual wedding, and it took the most practice but it’s worth learning.
- Section your hair into two parts, starting from each temple.
- Take a thin folded bandana strip and lay it alongside one section near your hairline.
- Begin a regular three strand braid, incorporating the bandana as if it were a fourth strand, alternating it into the weave as you go.
- Braid all the way around your head, following your hairline, and secure the end with a small clear elastic.
- Repeat on the other side if you want a full crown effect, then pin the two braided ends together at the back, tucking them under the rest of your hair.
Honest tip: Don’t attempt this one for the first time the morning of an event. Practice it at least twice beforehand. My first attempt took 40 minutes and looked lopsided. By my third practice round, it took about 12 minutes and actually looked good.
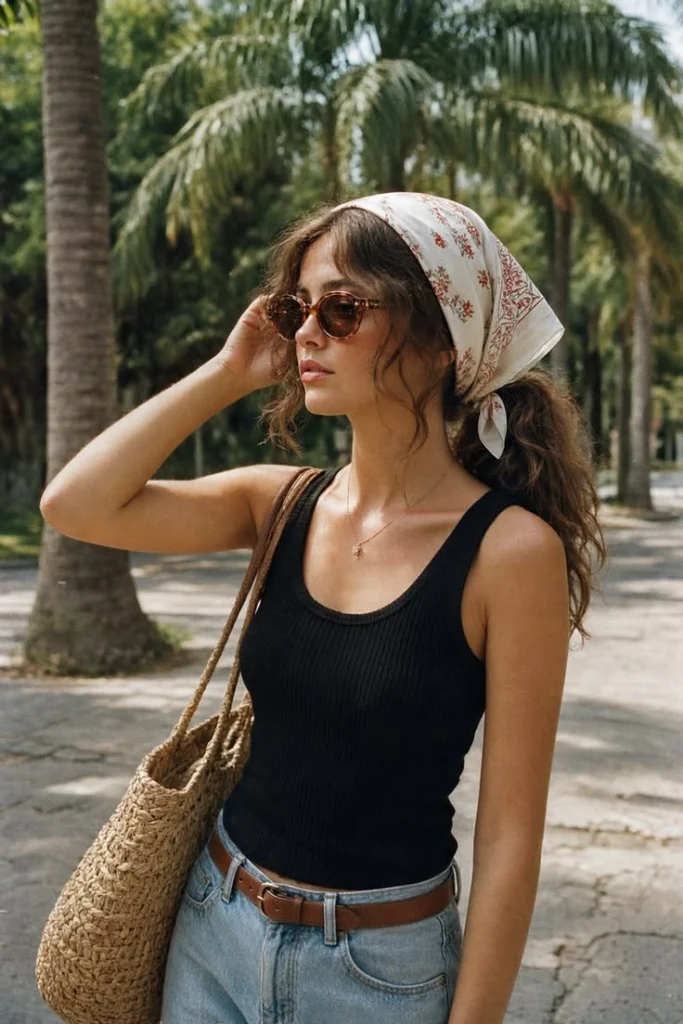
6: The Vintage Pin-Up Wrap
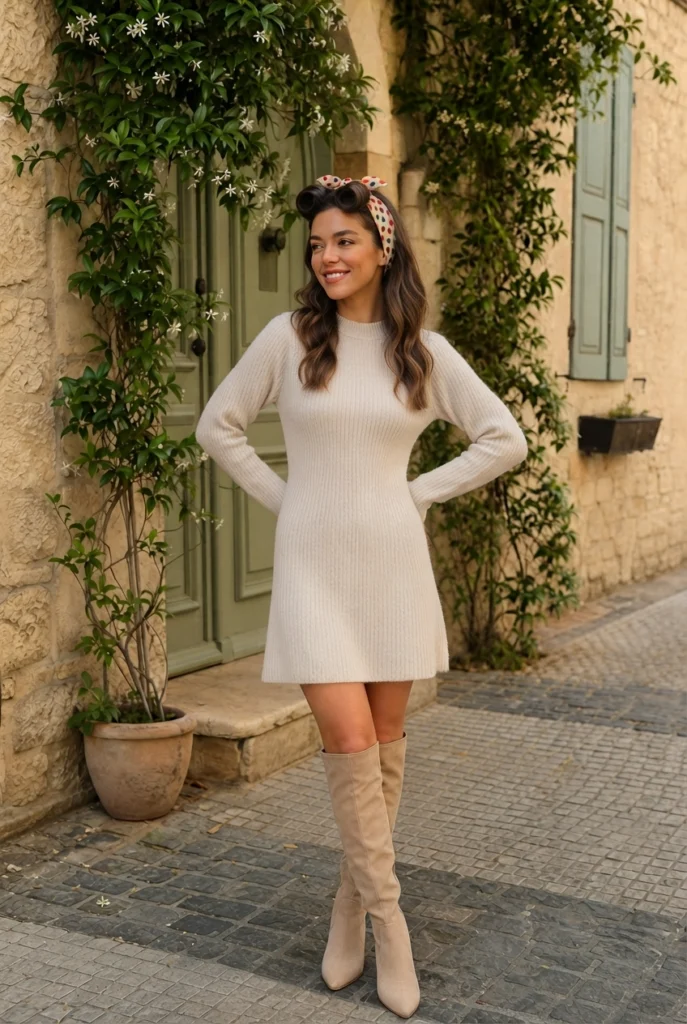
This one has serious old Hollywood energy, and it’s surprisingly simple once you get the hang of it.
- Smooth your hair back from your face using a comb, maybe with a little gel or smoothing cream at the hairline.
- Place the center of your folded bandana at your hairline, right where your forehead meets your hair.
- Bring the ends back over your head and tie them at the nape of your neck or just behind your ear, depending on your hair length.
- For extra vintage flair, leave a small victory roll or soft curl at the front before placing the bandana.
This style genuinely transforms with different prints a polka dot or paisley pattern leans more retro, while a solid jewel tone looks more modern pin-up. For more inspiration specifically on this vintage-leaning approach, fashionstylefeed.com’s vintage silk bandana hairstyle collection has some beautiful reference photos.
Common Mistakes (Learned the Hard Way)
Using a bandana that’s too small. I tried using a 18 inch square once for the braided crown and just didn’t have enough fabric to make it all the way around. Measure your bandana before committing to a style that needs more length.
Skipping the hair tie underneath. For ponytails and buns especially, the bandana is decoration, not the actual security system. Always secure with an elastic first.
Tying knots too tight. This pulls at your hairline and gives you a headache by hour three. I learned this one the uncomfortable way during a six hour wedding reception.
Not practicing before a big event. The braided crown and twisted headband both look effortless in photos, but they take a little muscle memory. Give yourself a trial run a few days ahead, not the morning of.
Ignoring fabric quality. Cheap polyester “silk-look” bandanas tend to be slippery in the wrong way they slide right out instead of holding shape. Real silk or good satin grips just enough to stay put while still feeling smooth.
A Quick Note on Inspiration
If you want a steady stream of styling ideas beyond what’s covered here, I keep a running collection of looks I want to try on StylePetal’s Pinterest page it’s genuinely where I found the original inspiration for the twisted headband style above. There’s also a solid general roundup of silk bandana looks over at fashionstylefeed.com if you want more variety to pull from.
Final Thoughts
What surprised me most about learning these styles is how forgiving silk bandanas actually are once you understand the basic fold and wrap technique. You don’t need salon level skills you need about twenty minutes of practice and a willingness to redo a knot a couple of times until it sits right.
Start with the everyday headband wrap. Once that feels easy, move on to the ponytail wrap or bun. Save the braided crown for when you’ve got a free afternoon to actually practice it properly.
My grandmother’s scarves ended up looking beautiful on all four bridesmaids that day, twisted into soft headbands that matched everyone’s dress colours. Every time I do this style now, I think about that stressful, scarf covered night and honestly, I’m grateful for the panic that taught me how.