
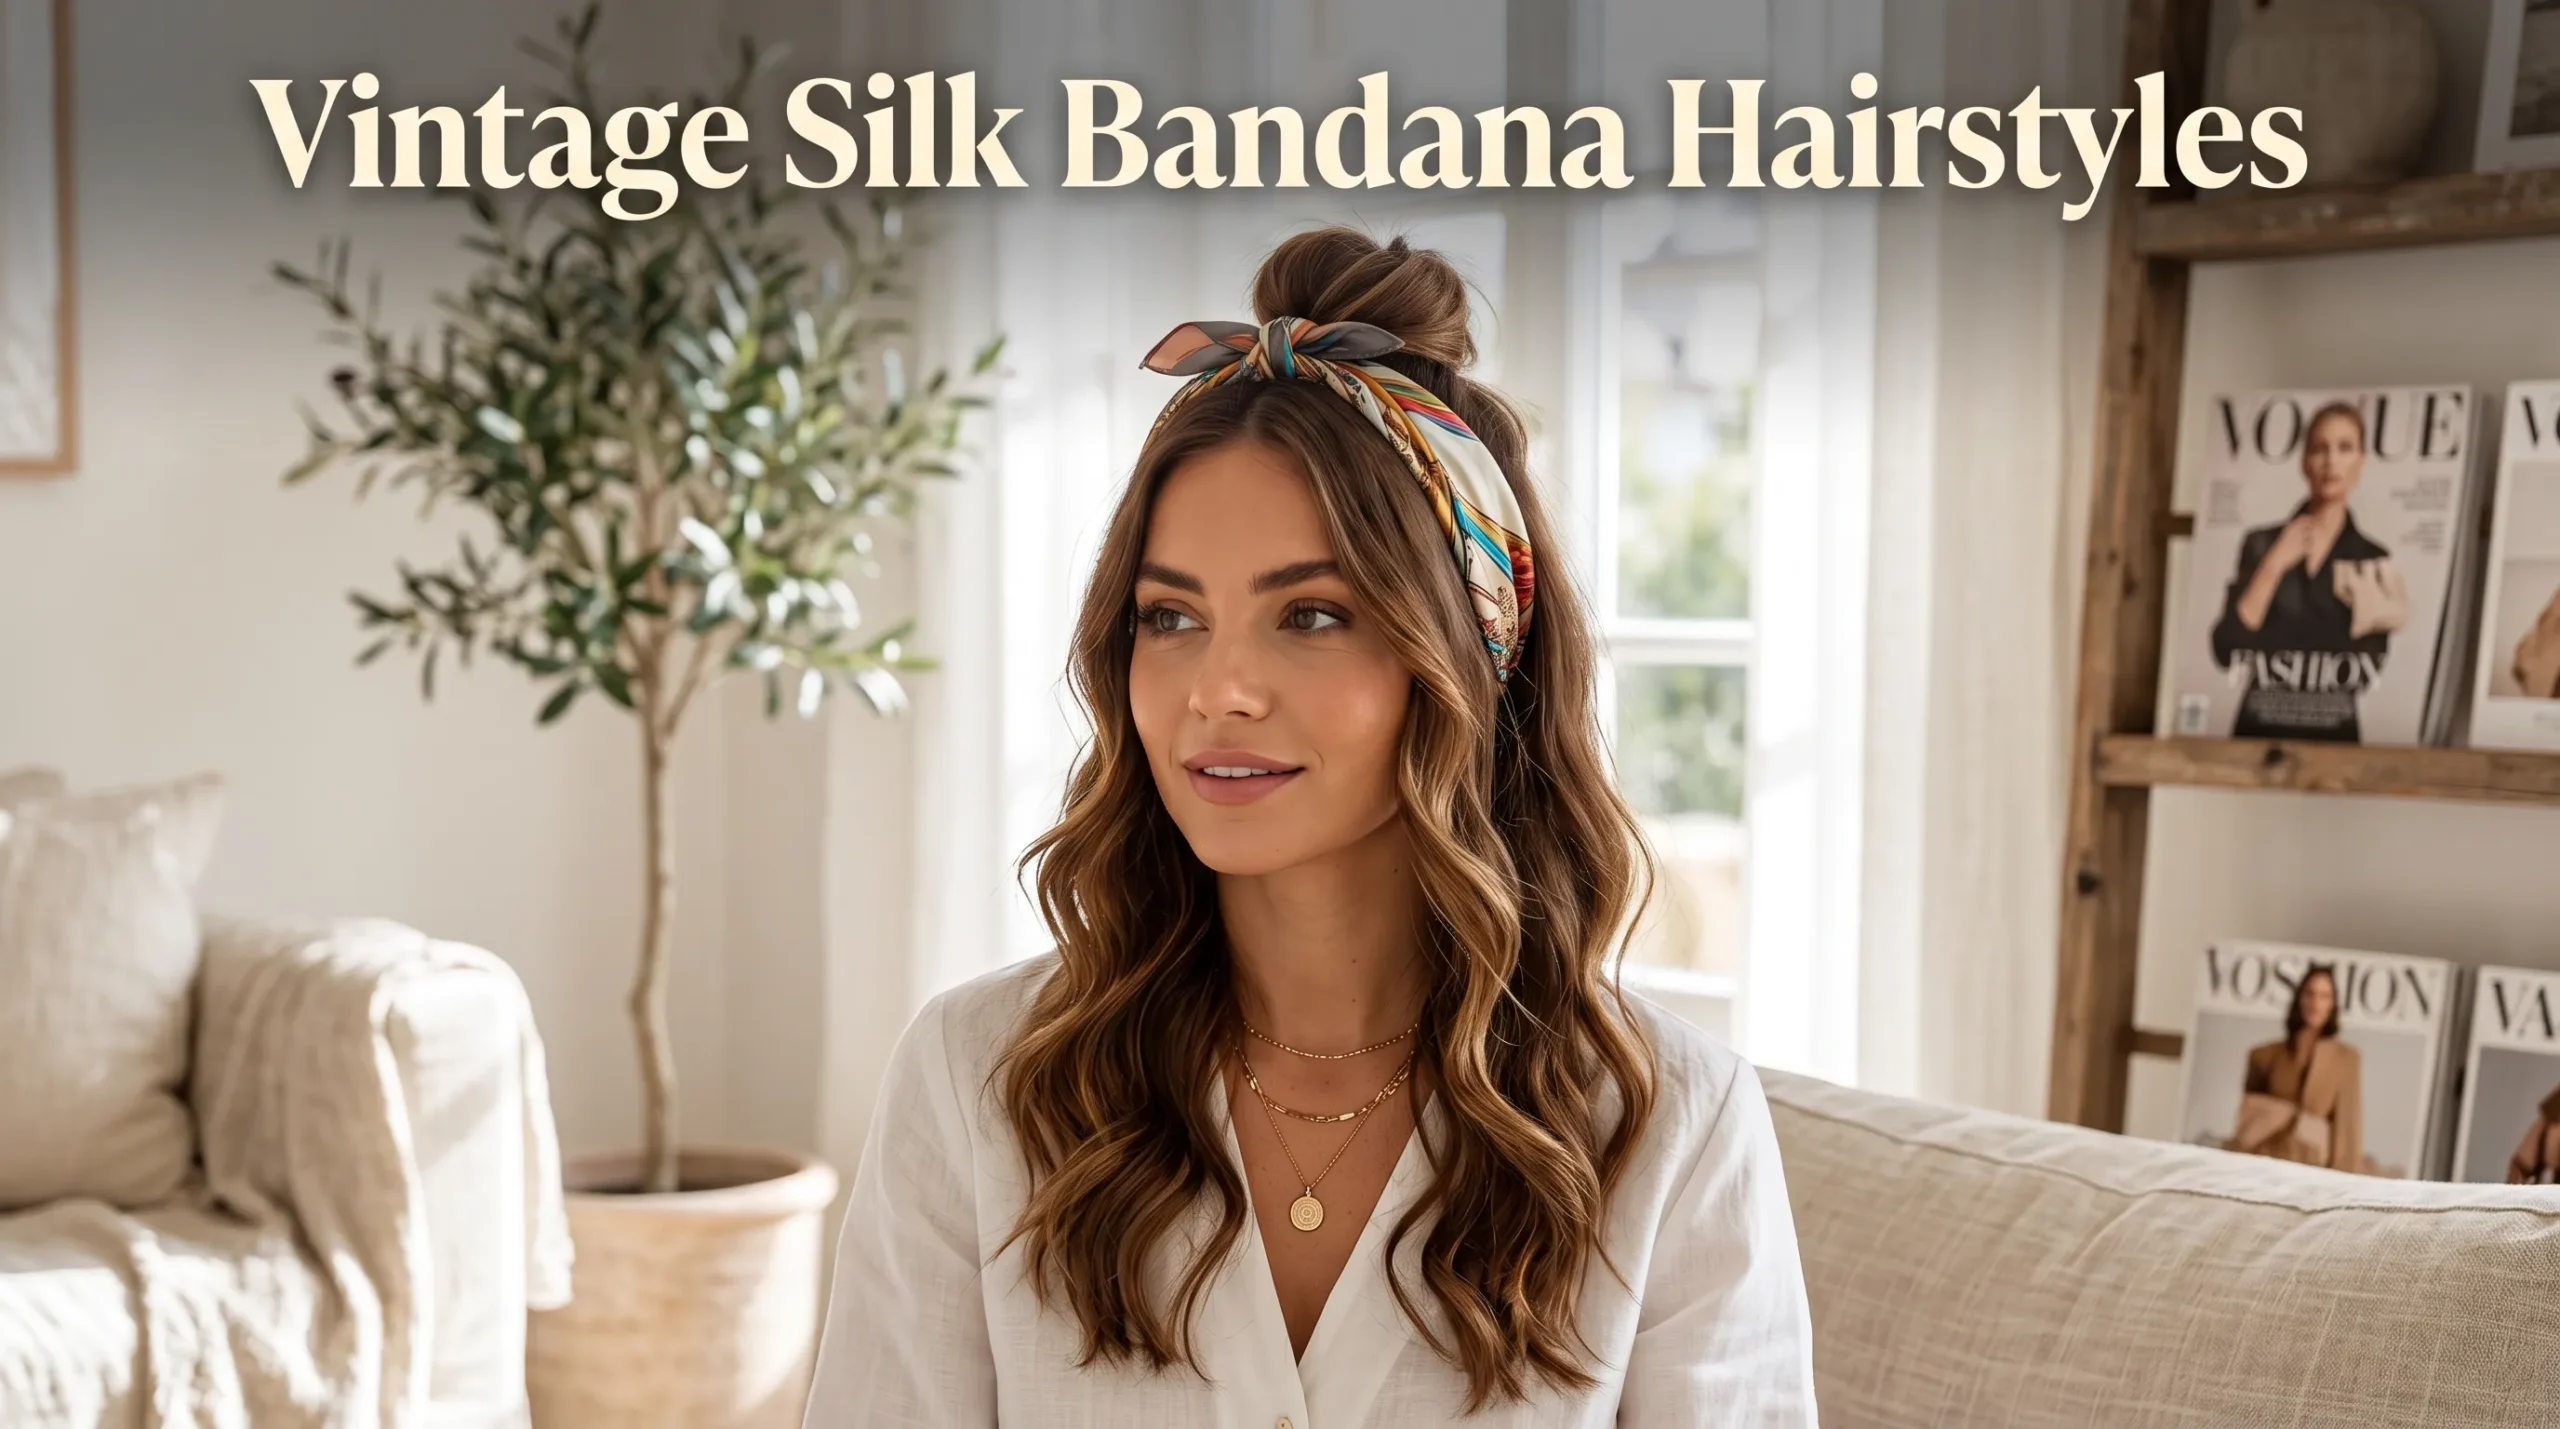
My grandmother kept a drawer full of silk scarves that I wasn’t allowed to touch growing up. After she passed, I inherited that drawer probably fifteen scarves, some from the 60s, still smelling faintly like her perfume. For two years they just sat in my closet because I genuinely didn’t know what to do with them beyond wearing one around my neck like everyone else does.
Then last winter I was scrolling through old photos of her from 1968, hair wrapped in this gorgeous knotted scarf with victory rolls peeking out the front, and something clicked. I pulled out one of her scarves, watched about six different tutorials, and butchered my first attempt so badly my partner asked if I was “doing a costume thing.”
A year and probably forty attempts later, I’ve actually gotten good at this. Vintage silk bandana hairstyles are genuinely one of the most underrated things you can do with your hair and weirdly, almost nobody’s hair tutorials online actually explain why certain folds and knots work better than others. So that’s what I’m doing here.
Why Vintage Styles Are Different From Regular Bandana Looks
Before jumping into the how to, here’s something I learned the hard way: vintage scarf styling is NOT the same as the casual boho bandana looks you see everywhere right now.
Modern bandana styles tend to be loose, undone, beachy. Vintage styles are structured. They rely on pin curls, rolled sections, and a tighter wrap technique that holds shape. I tried doing a pin up style with the loose “just tie it and go” method for months and it always looked sloppy instead of glamorous. The difference is in the prep work, not just the tying.
That was honestly my biggest unlock vintage scarf hair is 70% what you do before you put the scarf on.
What You Actually Need
I’m not going to pretend you need fancy equipment, but a few things genuinely make a difference:
- A real silk or silk blend scarf, ideally a long rectangle (oblong) rather than a square squares work for some styles but the classic pin-up wrap needs length, around 50-60 inches
- Bobby pins more than you think. I go through 15-20 for a full vintage updo
- A rat tail comb for sectioning hair cleanly
- Dry shampoo or texturizing powder (I use Oribe Dry Texturizing Spray, though Batiste works fine too if you’re budget-conscious) vintage styles hold so much better on textured hair
- Small foam or flexi rollers if you want actual victory rolls or pin curls underneath
You really don’t need salon grade tools. My grandmother did this with bobby pins and a wide-tooth comb, so don’t let the “vintage glamour” branding intimidate you.
6 Vintage Silk Bandana Hairstyles That Actually Work
1. The Classic Rosie the Riveter Wrap
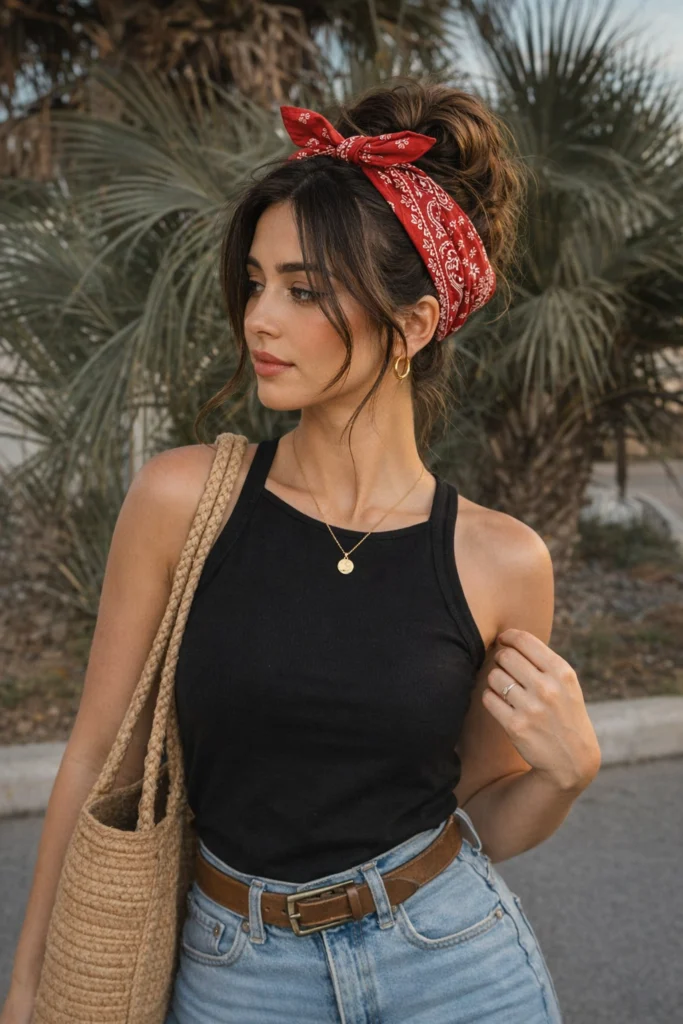
This is the one everyone pictures when they think “vintage bandana hair,” and for good reason it’s iconic and genuinely not that hard once you get the fold right.
Steps:
- Pull your hair back into a low ponytail or leave it down with some volume at the crown
- Fold your scarf into a triangle, then fold the long edge over itself once or twice to create a thicker band
- Place the center of the scarf at your hairline, slightly back from your forehead
- Bring the two ends back over your ears and cross them at the nape of your neck
- Bring the ends back up to the top of your head and tie in a knot or bow off to one side
The thing nobody tells you: leave a small poof of hair right at your hairline before you place the scarf. That little wave is what makes it read as “1940s factory worker chic” instead of “I’m cleaning my house.”
Best for: Quick vintage looks, costume parties, or just a fun Tuesday when you want main character energy.
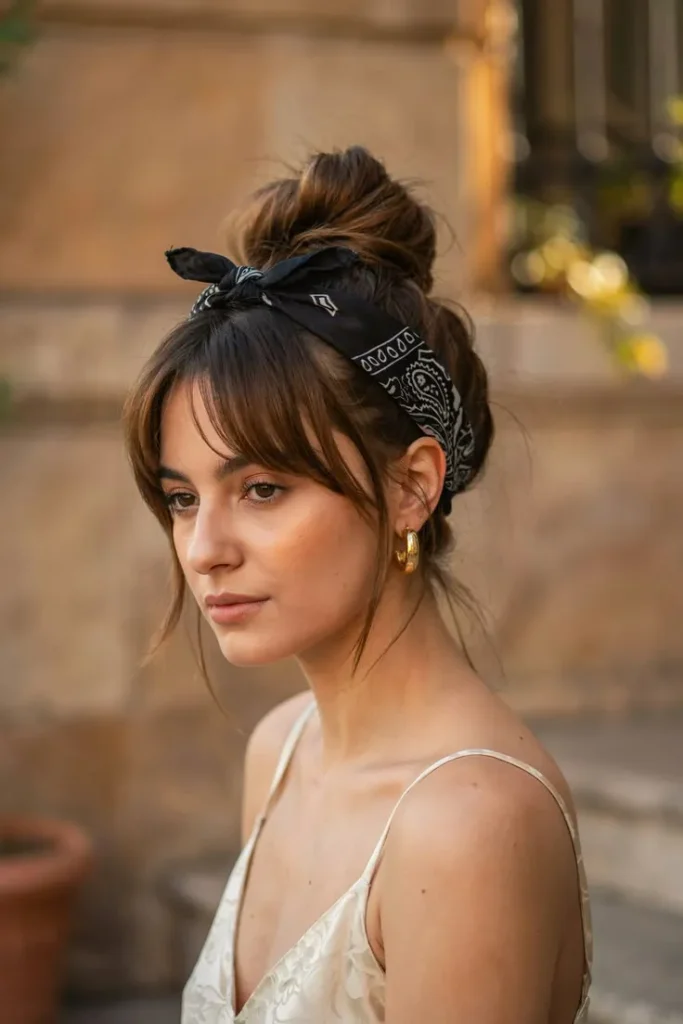
2. Pin Curls With a Scarf Crown
This is the style that took me the most attempts to get right probably six failed tries before it actually looked good.
Step-by-step:
- Section damp hair into 1-2 inch pieces
- Wrap each section around your finger toward your scalp to create a pin curl, then secure flat against your head with two crossed bobby pins
- Let curls set for at least a few hours (or sleep on them this is what I usually do)
- Once dry, gently unpin and finger-comb the curls loose, don’t brush them out completely
- Fold your scarf into a band and tie it like a headband, positioned slightly back from your hairline so the curls show in front
Mistake I made constantly: Taking the pin curls out too early. If they’re even slightly damp when you release them, the curl falls flat within an hour. Patience matters more than technique here.
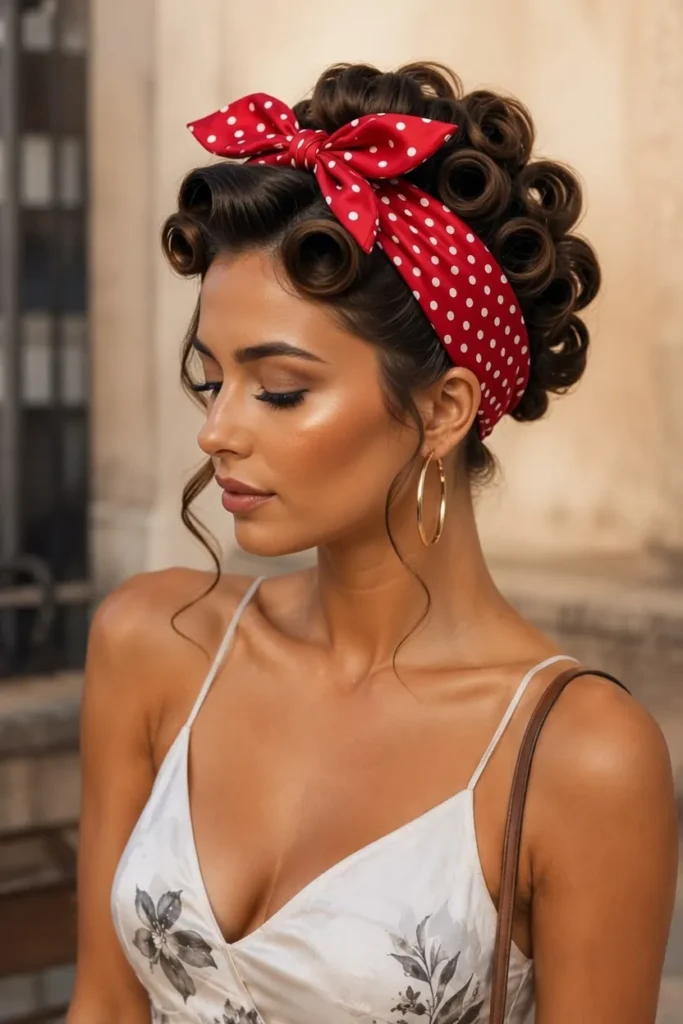
3. The Turban Knot With Victory Roll Front
This one looks the most “old Hollywood” and gets the most compliments out of anything I’ve tried.
Roll the front section of your hair (just the front two inches or so) using a large velcro roller, away from your face. Let it set, then pin it into a victory roll shape basically a vertical loop pinned flat. Once that’s secure, wrap the rest of your hair into a low turban using the same method I described in my beach hair guide.
If you want a visual reference for the turban wrap technique itself, I actually broke it down with photos over on StylePetal’s Pinterest it helped me a ton when I was first figuring out the wrap angle.
4. Side-Swept Scarf Waves
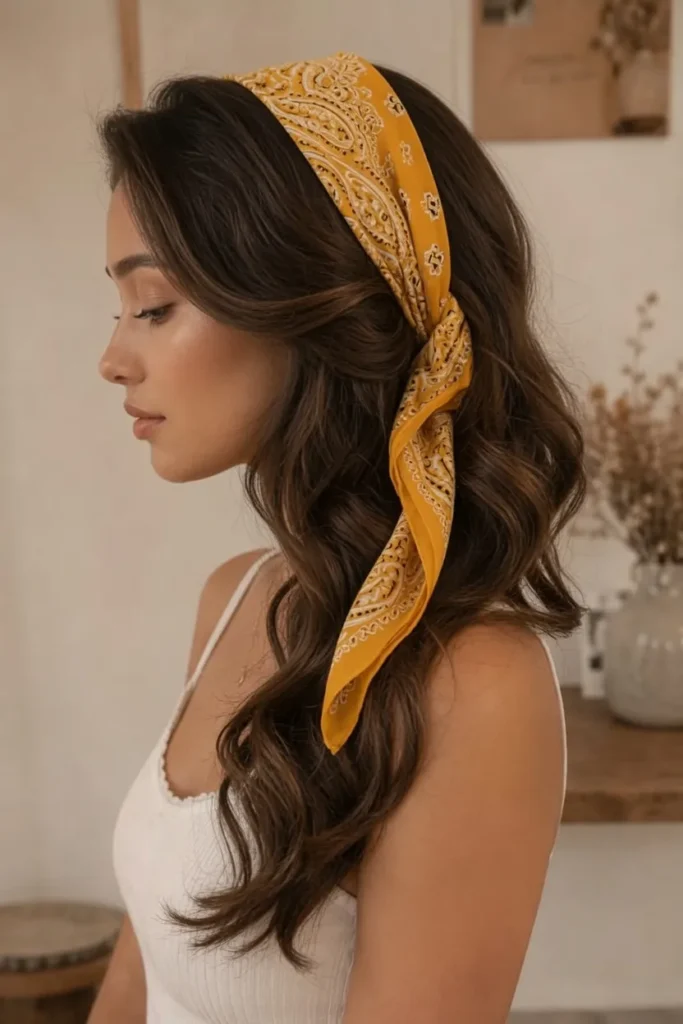
Less structured than the others, but still distinctly retro. Create loose waves with a curling iron (I use a 1.25-inch barrel, no clamp, holding each section for about 8 seconds) and brush them out gently. Take your scarf, fold it thin, and tie it as a headband positioned to sweep all your hair to one side. Let the waves cascade over one shoulder.
This is genuinely one of the easiest styles on this list and it photographs beautifully, especially with a patterned silk in a deep jewel tone.
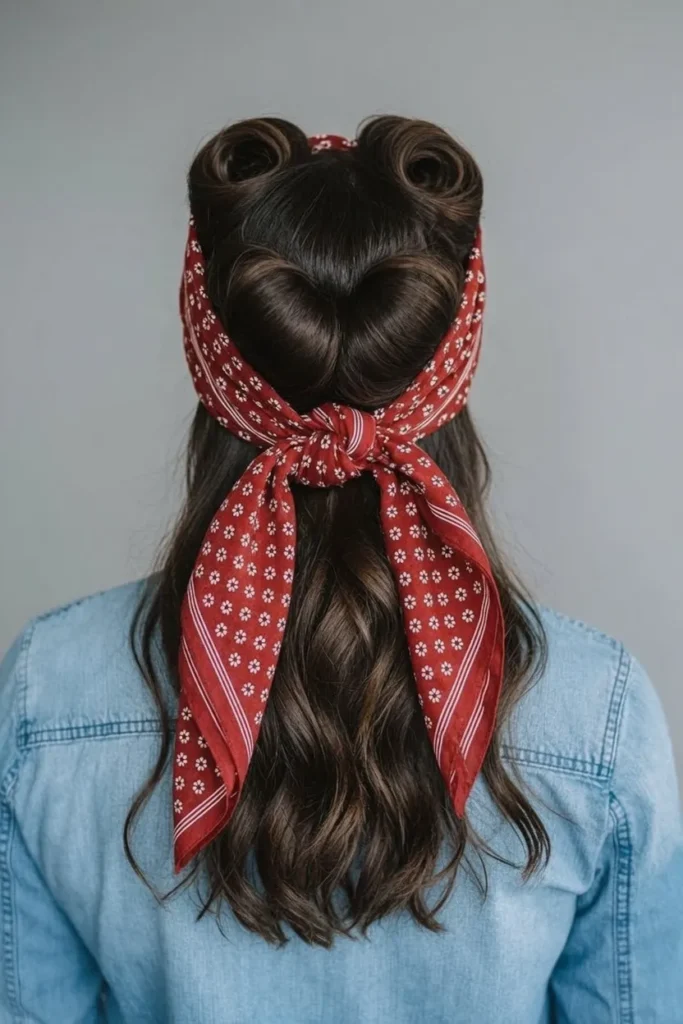
5. The Wrapped Bun With Scarf Trim
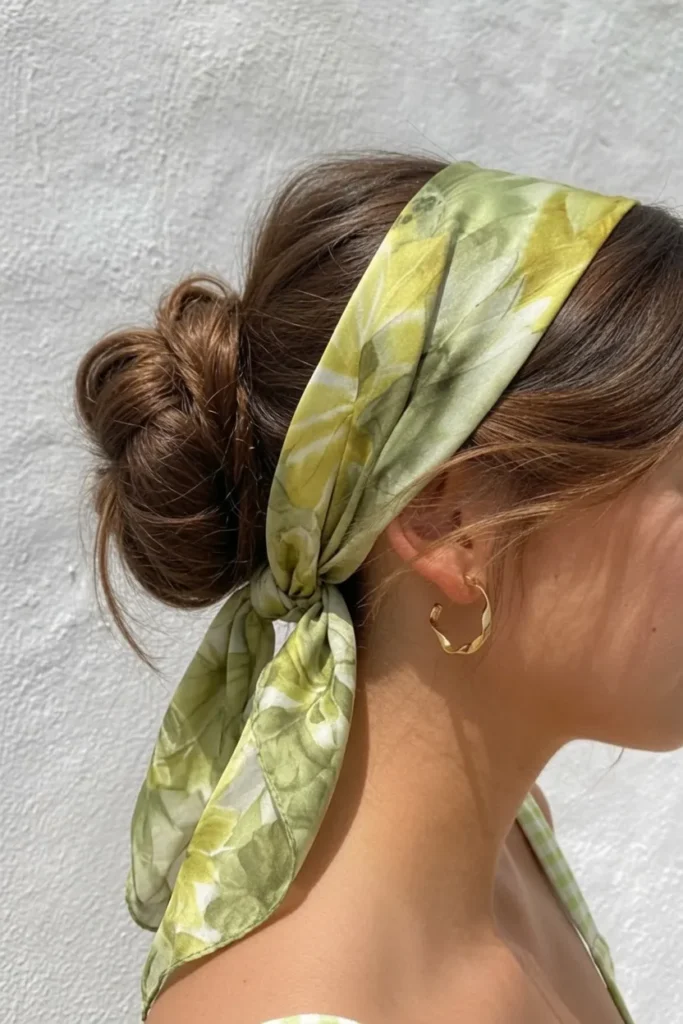
Twist your hair into a low bun doesn’t need to be perfect, a slightly loose bun actually looks more authentically vintage. Take a long scarf and wrap it around the base of the bun multiple times, securing with a few bobby pins underneath. Let a tiny bit of the scarf tail hang or tuck it in completely depending on the look you’re going for.
I wore a version of this to a friend’s 1950s themed bridal shower and got asked by three different people where I “got my hair done.” Nowhere just forty minutes in my bathroom and a YouTube tutorial paused every ten seconds.
6. Full Head Wrap (Glamour Style)
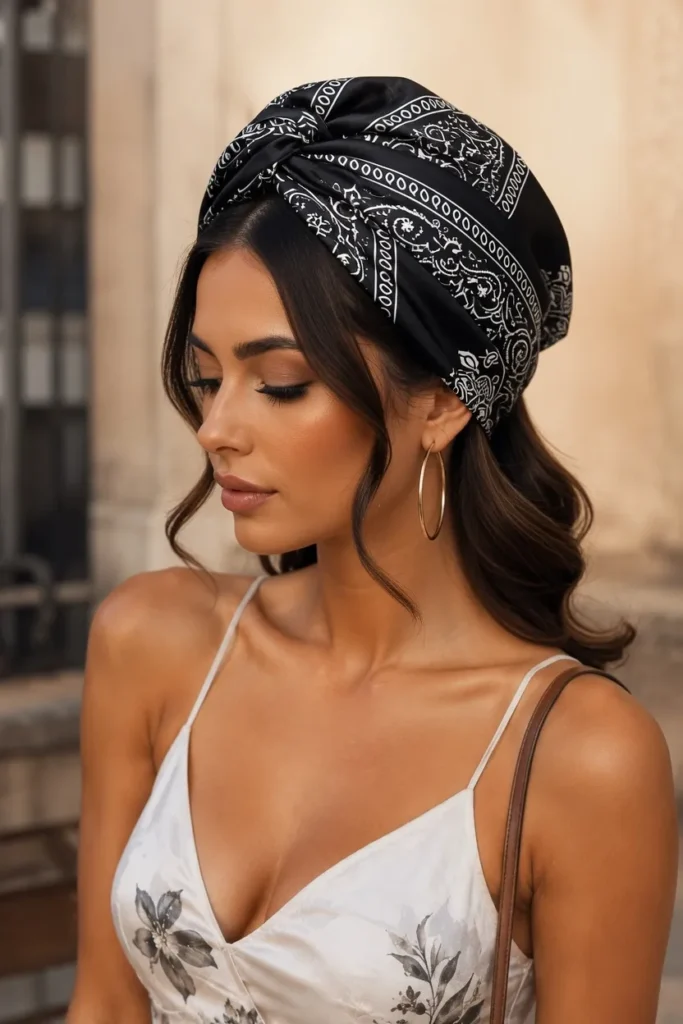
This is the most dramatic option and works best for special occasions rather than everyday wear. You essentially wrap the entire head, similar to a headscarf updo, but with a more deliberate, structured fold pattern that creates clean diagonal lines across the scarf instead of a soft drape.
It takes practice to get those clean lines instead of bunching, so I’d recommend trying this one on a day when you’re not in a rush. My first three attempts looked more “turban gone wrong” than glamorous, but once you understand the folding technique it becomes almost muscle memory.
For more style variations and inspiration across different scarf techniques, fashionstylefeed.com has a solid silk bandana hairstyle roundup that covers a lot of ground beyond just the vintage stuff worth a browse if you want to mix retro with more modern looks.
Common Mistakes I Made (Learn From Me)
Using the wrong fabric weight. Heavy silk doesn’t drape the same way lighter silk does. For structured vintage looks, you actually want a slightly lighter weight scarf (around 12-16 momme) because it holds the fold lines better than thicker, heavier silk.
Skipping the prep work entirely. I cannot stress this enough clean, freshly washed hair with no texture is the WORST base for vintage styles. Everything slips and falls flat within an hour. Texture spray or dry shampoo from the day before is your best friend.
Tying too tight. Vintage doesn’t mean uncomfortable. I used to wrap so tightly I’d get a headache by hour two. The scarf should feel secure but not like it’s compressing your skull.
Ignoring the order of operations. Hair first, then scarf this sounds obvious, but I used to try wrapping the scarf and then attempting to curl or pin sections afterward. It never worked. Style your hair completely, let it set, and only then add the scarf.
Not practicing the knot beforehand. The bow or knot at the end is what makes or breaks the whole look. Practice tying it a few times on a hairbrush handle or even just in the mirror without your hair involved so your fingers know the motion before you’re committed.
A Few Practical Notes
If you’re shopping for scarves specifically for these styles, look for vintage or vintage-inspired prints small floral patterns, polka dots, and bold geometric designs all read as authentically retro. Estate sales and thrift stores are genuinely the best place to find real vintage silk scarves for cheap, often under $10, and they tend to have that slightly thinner, more pliable weight that’s perfect for these wraps.
If you want to branch beyond vintage into more relaxed, everyday bandana styling beach days, errands, travel I covered a bunch of those looks in this vacation hairstyle guide, which is a nice contrast to the more structured looks here.
Final Thoughts
Wearing my grandmother’s scarves this way has honestly changed how I think about them. They’re not just sitting in a drawer anymore they’re part of how I actually get ready some mornings. There’s something kind of nice about using a 60 year old piece of fabric to recreate a hairstyle from the same era, even if my version is a little rougher around the edges than hers probably was.
Start with the classic wrap. It’s the most forgiving style on this list and once you’ve got the fold technique down, everything else becomes a variation on the same skill. Give yourself permission to mess it up a few times my first attempt genuinely looked like a costume malfunction, and now it’s one of my favourite ways to do my hair.
Grab a scarf, pin a few curls, and have some fun with it.